• Hello Guest, we are proud to now have our Wiki online that is completely compiled and written by our members. Feel free to browse our Jeep-CJ Wiki or click on any orange keyword when looking at posts in the forum.
    To dismiss this notice
    click the top right X.

Build Thread 78 CJ5 military theme

Build Thread 78 CJ5 military theme

hybridmoments

Jeeper
Posts
63
Thanks
0
Location
Atlanta, GA
Vehicle(s)
78 CJ5,
AMC 360 (72ish),
t-150,
dana 20 (twin),
spicer 20,
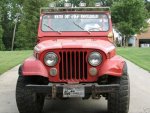
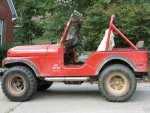
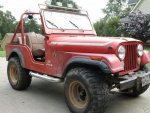
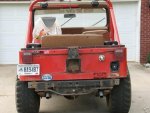
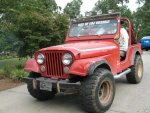
The day i bought it:
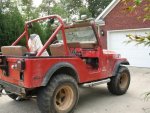
l_03fe596a23e74f16bb6e91ffb9007513.jpg
l_4acb0b80217a4dcd9a8d695ea69e4a06.jpg
l_7d725627c9eb4df9b3b1a32c4e8ccc33.jpg
l_72a87dbef2ac4661a8b89a223bc76c00.jpg
l_a5b95065efb543b99df5fbc0e2d6749d.jpg
l_febfebe4bd664b37826a449f12e84df1.jpg

The first mod was replacing the dash board and windshield and floorpans to get rid of the rust. Next I did the bedliner:
l_1c6fcc511443c2710c3ccb3acaa8f54c.jpg
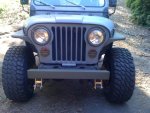
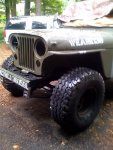
Next was primer and new fenders and chopping and painting the bumper:
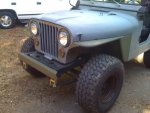
IMG_0648.jpg
IMG_0647.jpg
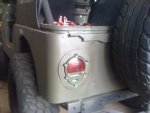
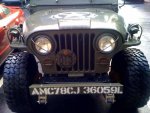
next was rear corners and H1 lights:
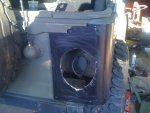
IMG_0883.jpg
IMG_6547.jpg
IMG_5725.jpg
IMG_5270.jpg
Also added rear body handles and functioning corner blinkers:
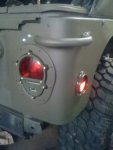
rrcornr.jpg
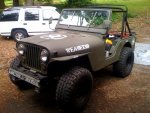
Also the exterior paint:
photo7.jpg
photo5.jpg
photo2.jpg
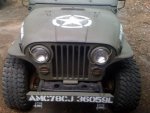
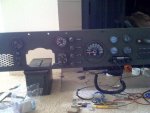
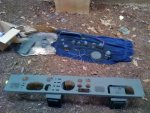
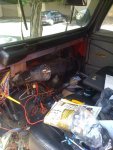
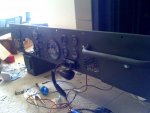
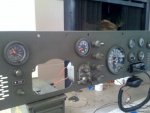
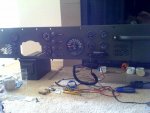
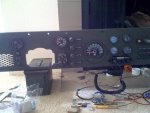
Also the dash board with functioning three-lever light switch and blackout lights:
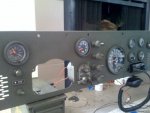
photo3-1.jpg
photo4.jpg
IMG_07041.jpg
IMG_06981.jpg
photo-1.jpg
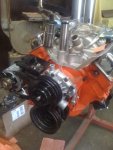
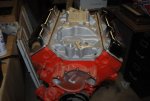
And the engine: (this is replacing the current 360, it's just newer/nicer)
DSC_0385.jpg
360.jpg
This is mostly what it looks like now, But I've changed the bumper stencils a bit. It's currently awaiting propane injection and OBA as well as a rebuilt tranny/xfer case.
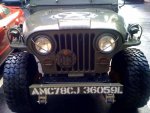
photo-1.jpg
 
Last edited:
Man you got alot done in one post!! :laugh: Very nice. Im sure there are alot of guys who'll check this out and want more details. Thats just props to your work. I'll start with asking a for a little more detail on the lights please. :)
 
heh, yeah I thought that may come out as strange. I just wanted to get the build all in one place nice and clean so I can easily keep track of what I've posted. I am a mega scatter brain.

The lights are almost all meant for a troop carrier or a mutt. The rears are from a hummvee obviously. I basically got everything from either saturnsurplus.com or ebay. I still get all my wires and connectors from saturn surplus. If you're redoing your wiring I would just go ahead and use the mil stuff from saturn as well as the connectors that you see in my pics. Makes wiring totally water proof and seemless. You do have to make your own tags though, which I've just been using those little sticker tags for now but eventually I'll track down the embossed clamps.

The front and rears all have functioning blackouts. The front parking lights aren't meant to go there, I just liked how it looked. But I did wire up the blackouts there jsut to have them. The three light lever switch is a bitch to integrate with a non-military jeep but once you get the ball rolling you start to pick up steam with interpreting the wiring diagrams and there are a lot of docs out there on steelsoldiers.org about the wiring designations.

After I installed the armored corners I had to recut holes for parking lights and fab a bracket to hold the old blinker against the outter reflecter, but it was simple enough. Also, the humvee tail lights are VERY easy to wire up. Basically plug and play if you google the wiring conversion. If anyone needs it I can post it here. They are also self grounding so you have to just attach a lead from the rear bolts of the light housing and screw it to the inner tub somewhere. I think that about covers the lights...:)
 
Last edited by a moderator:
:ww: hybridmoments ! :chug:

Excellent work and a great there. What was your time frame on this? You do great work! :notworthy:

Thanks.. For about two years I was doing a lot of restoration stuff very slowly. This thing was a major bucket of rust. I had to redo the floors, the dash board, the wiper cover and the bed liner . I left everything alone for a while once I got rid of the rust and got it running. Then after about a year of driving it everyday I decided I wanted to switch things up.

I spent a lot of time just researching after that really. Once I picked a goal (roughly) I got started on the mil stuff and spent about three months total getting the dash, lights, paint and extra odds and ends purchased painted and put together. I am still in the middle of putting that other engine in now. Once my AC serpentine pulley kit arrives from bulltear I literally have every piece I need to finish doing the engine, Transmission propane and on board air. All the OBA and new Transmission mounts and engine accessories are sitting in a pile waiting to get put in. Hopefully I'll be driving again in about a month.
 
Excellent! :chug:

I had never heard of saturnsurplus.com so I added them to our Links section - great site.

You have done a great job - I really like the designation on the bumper... :)

You'll like the serp kit from Bulltear, it very well done.

serp.jpg


I'm going to add a york so I will be buying the brackets, they didn't have that option when I bought my kit.
 
That is nice ! :patriot:
 
That is a slick little mil-Jeep! I love it!
 
I to am rounding up a military conversion.

Getting it on the road first then I will convert the lights (front/Rear) & add the handles/headlight bar protection etc.

I would like to know how you integrated the lightswitch, and, what did you put in place of the original headlight switch.

I did check http://www.steelsoldiers.org but the site is not working unless I have the wrong site.

What year/model is the headlight switch, M38 ??

IMG_07041.jpg

Thanks,
Jim

P.S. My build info/pics link is listed in my sig line.

Here are the lights I have. 1955 M170.
100_1776.sized.jpg


100_0229.sized.jpg


100_0224.jpg
 
I to am rounding up a military conversion.

I would like to know how you integrated the lightswitch, and, what did you put in place of the original headlight switch.

I did check steelsoldiers.org but the site is not working unless I have the wrong site.
Almost forgot to put this site up. This guy has everything:
Three Lever Light Switch, MS51113-1

That's the light switch I used. The switch is good for 24/28/12volt. After all it's only a switch.
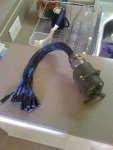
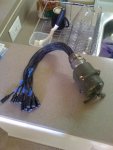
I also purchased wires and the rear connector for it as well:
Connector (28-51 Cannon Plug) For 3 Lever Light Switch, 7716895
Then just soldered the cups myself. Make sure though too that you label everything very carefully because once the solder is tinned you ARENT going to be able to go back ;).
Basically I used the Haynes wiring diagram to first label all the wires behind my dash to figure out what went where. Next I labeled all the Three lever light switch wires and what they went to.
I used this guide from Olive Drab:
MILITARY VEHICLES: M-SERIES LIGHT SWITCH
Very useful wiring chart...
All of the terminals on the rear of the switch housing are numbered, so just mark them on labels and solder your wires up. Next label your dash cluster wires once you've figured out for sure what goes where. I recommend you give it a test fire before buttoning up your dash. This is a bear of a task to wire up once the bundles are un-cobbled.
If you need pointers once you're started let me know. I studied my wires for a long time before really digging in.
 
Also, when installing the three lever, I had to cut a strange oval shaped hole to make it fit, so what I did was get a hole cutter that was just larger than that of the outter diameter of the round edges of the thee light front bezel and cut two centered holes overlapping each other. I then used a dremel cutoff to basically complete the oval. It was somewhat imperfect, but it really did look pretty professional once I painted everything.
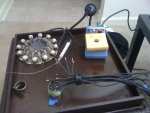
Some pics of that process:
photobefore.jpg
last.jpg
spaghetti.jpg
photo1.jpg
photo3-1.jpg
photo-6.jpg
photo4.jpg
 
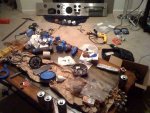
Some other things.
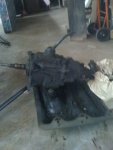
Here's the tranny and tcase right after pulling, gotta love GA clay:
photo-1-1.jpg
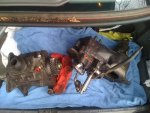
Got them cleaned a bit to bring to the builder:
photo-10.jpg

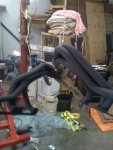
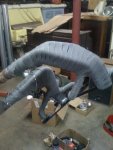
Headers getting paint:
photo-11.jpg
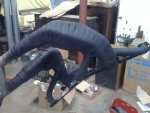
Wrap time:
photo-2.jpg
Drying from silicon coating:
photo-3.jpg
 
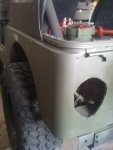
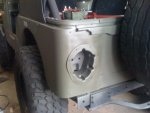
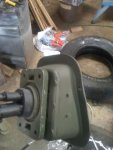
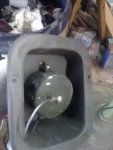
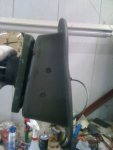
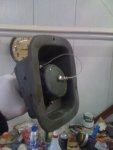
Another militaryism I'm adding is a slave receptacle. The M38's had a HUGE cilinder bowl cutout in the fenders, but unless I want to remove my heater assembly this isn't an option. I bought the slave receptacle a while ago and wired it up, but hadn't been able to come up with a way to mount it....that is until I removed my old gasoline fuel system (being replaced with propane) so as I am sifting through pieces I took a look at my filler neck and started to thinking...

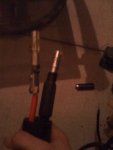
The ends of the Slave receptacle wiring:
IMG_0604.jpg

Creative time:
photo-24.jpg

photo-25.jpg

photo-26.jpg

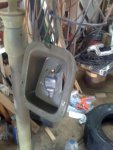
Was actually a near perfect fit. Just had to cut two tiny notches with an exacto and it works like a charm. It's going to be mounted on my passenger fender just beneath where my dual batteries are;

Nice and flush:
photo-27.jpg

photo-28.jpg

I like the idea of the filler too because it will angle the receptacle up towards me instead of having to lean down to it.
 
Thank you very much.

You would have happen to take a picture of it all wired up :confused: did you :eek: :notworthy::drool:

Thanks again,
Jim
 
haha, sorry man. I was using a headlamp and portable light at 2 in the morning when I finally finished. Once you unscrew the dash with the steering wheel removed just pull it backwards and get the haynes manual in your lap with something to label. it's actually really easy to figure out what's what if the factory colors are still there. Just make sure to label them AS you unplug them.
 
i like it :chug:
 
Excellent! :chug:

I had never heard of saturnsurplus.com so I added them to our Links section - great site.

You have done a great job - I really like the designation on the bumper... :)

You'll like the serp kit from Bulltear, it very well done.

serp.jpg


I'm going to add a york so I will be buying the brackets, they didn't have that option when I bought my kit.
Bulltear just called and said the package got sent back damaged so they are sending a new kit priority. Nice guys...
 

Jeep-CJ Donation Drive

Help support Jeep-CJ.com by making a contribution.

Help support Jeep-CJ.com by making a contribution.
Goal
$200.00
Earned
$25.00
This donation drive ends in
Back
Top Bottom