• Hello Guest, we are proud to now have our Wiki online that is completely compiled and written by our members. Feel free to browse our Jeep-CJ Wiki or click on any orange keyword when looking at posts in the forum.
    To dismiss this notice
    click the top right X.

Build Thread Jimbos 1 of 2 build thread

Build Thread Jimbos 1 of 2 build thread

Jimbos76cj

Full Time Jeeper
Posts
2,223
Thanks
1
Location
St.Cloud FL
Vehicle(s)
83 CJ-7.. 4" YJ springs front rear, J-10 44 front/AMC 20 rear,6 cy auto dana 300 35' bfg Done and gone!!


Ask me about my head light upgrade harness!!!
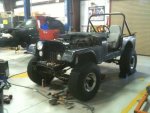
Heres my current build thread.. its 1 or 2 because I have another one that Im collecting parts for to begin building in the fall. Im buildingthis for my buddy John who has been wanting a jeep for quite some time. It started off as a joke of "hey you should by this CJ" and next thing I knew we were on our way to pick it up.
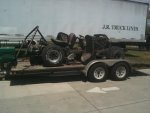
79f48921.jpg

Thats not some of it... besides the 2 totes in the back of his truck thats all of it.

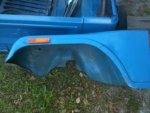
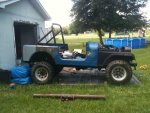
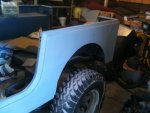
First order of business was to sell the tires to buy a tub. From the beginning he wanted it to be on 35's so figured the money was better spent on some sheet metal. As quick as I found a buyer for the tires I found a tub, tail gate, hood, fenders, dash and windsheild frame in what looked like decent condition
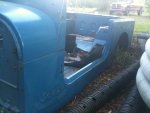
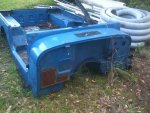
bfb555ab.jpg

41925f7d.jpg

dc4690d7.jpg

844515a6.jpg

In great CJ fashion we quickly found the rot on the frame so out came the welder
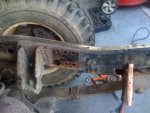
49beed29.jpg
bded948a.jpg

After fixing the frame we placed the tub on it for a looksy
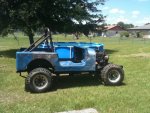
9ea49850.jpg
 
Last edited:
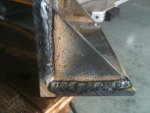
While the work was being done on the body we placed it on a set of jack stands.. the folowing morning the rear half had started to sag from all the rot.

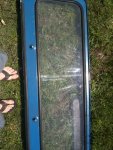
Heres the windsheilf from the original frame
e143cd72.jpg


Here it is with the rest of the body parts on and the rear lifted 4"

0df85682.jpg

Primered
b3e5741e.jpg
a5ff1797.jpg
a5ff1797.jpg

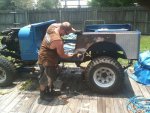
Little buddy doing some body work
2c0cb073.jpg
 
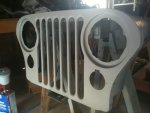
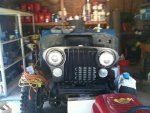
Got bored and shot some black on the grill
d9fcbe82.jpg

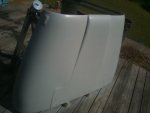
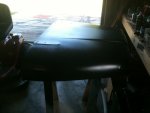
Hood
b3f3df7e.jpg

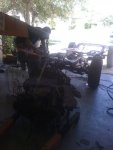
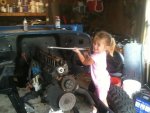
Got some help with motor work
ed9b1d04.jpg

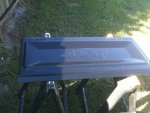
Paint on tailgate
a1824ce8.jpg
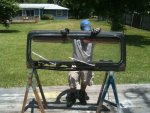
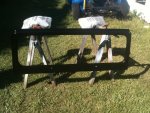
Windsheild frame
e758798f.jpg

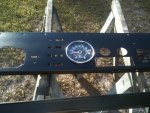
Dropped the speedo in to see how it looked
36221ace.jpg
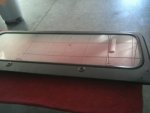
DId the glass myself
74a8c433.jpg

Body work and primer done on the tub
9f28c662.jpg

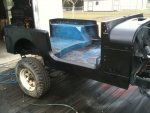
Black on the tub. Its a semi gloss so it dried flatter then it looks here.
c6b0a4d6.jpg

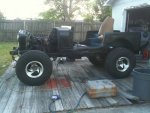
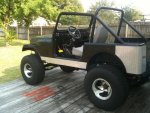
Got some 35s for it
9ce17548.jpg

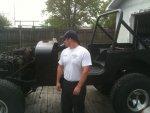
I kept trying to tell him that it would be taller then him
3da4efea.jpg
 
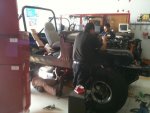
I sub at the local tech school for automotive. I picked up 3 consecutive days and decided to get some work done
30182cc7.jpg

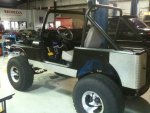
Student put some time in and diamond plate on.
554c22d0.jpg
they really liked to be able to sit under it to wire and hook up the drive line
fbfe10e7.jpg
 
Heres it almost all done.
07bfbaf3.jpg
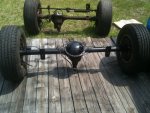
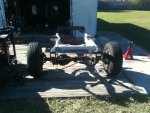
Found out the brakes were shot and all the TRE and linkage was either bad or rusted to bad to be road worthy so I decided to donate him a set of J-10 Axles, AMC20 one peice 6 lug LSD rear, and 44 front.
13b21a67.jpg

Beside some randomness the last big things to be completed is the outboarding for the axles. After regear the axles John will have maybe 3k into it.. not a bad deal.
 
Good Job ,Are you going to take the guys for ride for their hard work.lol:chug:
 
I would like to but the thought of a 34 year old man running around with a bunch of high school kids gives me the willies.
 
Got a new to me front 44 from a j-10

IMG_9031.jpg

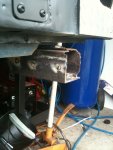
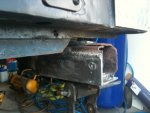
Got my new welder and had a buddy that's a good welder come by and give me some pointers. 2hrs and half a spool of wire later I was ready to get to work making the outboard mounts

922193c0.jpg
6261351e.jpg
6c3ed5c9.jpg

0ebce195.jpg

Postman dropped off my new rear spring mounts

IMG_3416.jpg

Welded the support plate on it.. The plate wasn't a tight fit but I managed
IMG_8372.jpg

First up is to swap the rear. Then rebuild the front and get it under the jeep
 
Looking good thumbsup.png.

Nothing more gratifying than making parts, I take that back, making parts that work correctly, lol.
 
Thats true.. I can't wait to ge this thing on the road.

1 its one of the things standing between me and my build
2 it will give me a little more confidence in my pile of parts
3 it will be the first of 3 other project jeeps that made it back on the road
 
Finally got the Gear set to swap into the rear.. Hope to get cracking on in in the next week or two.
 
I finaly got the front axle taken care of. I had to swap every thing from the knuckles on out to the new axle. I started measuring and marking for the out board set up on the front and noticed the the mounts would have to attache to the repair work that we did when we first got it. Im worried that the mounts would stress the repairs causing the frame to crack. Luckily I have a frame that is pretty solid up front and is already out boarded. Since we are not using either axle that came with the CJ I would mount the axles then swap all the big systems over. Figured it would take only a day or two to change it all over.
 
(this post is a few weeks old copied from my build page on another site.)
Alrighty.. Back onto the build with a few hiccups. The front end has been gone through and set up. I'm hoping to get the steel to make my own shackles this week and the right spring plates that I need for the pass drop 44. I need to get the rear dropped off to Brian for the gear swap and set up.

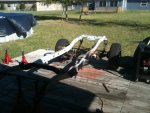
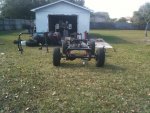
Now here's where the hiccup comes in. When we first got the jeep the frame had a bunch of rot that we repaired and reinforced. When I started to measure for mocking up the out board set up I realized the was alot of interference were the reinforcing plates were, where the new spring mounts need to go and the area where the rot was repaired. So then I became paranoid that the frame wouldn't take the eccentric load that the outboard brackets would apply on the front spring mount. I ended up making the tough choice of swapping frames. Luckily I have a few extra frames laying around and one is already set up for full width axles. So today I drug it onto the deck and got to work cutting off in-needed brackets. The rear of the frame needs a little love it I thing I may cut the rear 6" of the original frame off and weld it onto the new frame. Here's how the day started.

IMG_7328.jpg

After doin some slow cutting and waiting for my air tank to refill I got it to here.. I know it's not much progress but it's nice to get back at it again.
IMG_6392.jpg

Hopefully after a week or two it should be ready for a parts swap.. Maybe a wrenching drinking day may be in the future.
 
Got the rear spring hangers welded on along with the body mount. Im one bolt short of completely having the front end finished.

IMG_4239.jpg
IMG_7616.jpg
IMG_3367.jpg
IMG_8189.jpg

So now i need to make some room in the shop and get ready for the big swap a roo. Im thinking wrenching party.
 
:drool:

Very nice work jimbo!

:chug:

Jr
 
Thanks.. I picked up a few cans of gloss black to take care of the primer look to it. The guy doing the rear says first of next week. Im debating on picking up parts on friday or working in the shop. Monday I should be going out with a buddy that just picked up a YJ with a 4bt in it. IF not its back to work on mine.
 
Alrighty.. back at it again today and Im hoping to sneak in another solid day tomorrow and one on thursday.. Any one want to come to the cloud thursday morning and help move a jeep tub, motor, Transmission to another frame??

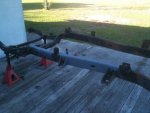
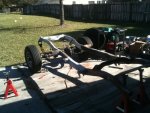
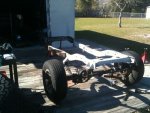
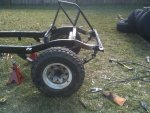
Heres todays progress. unloaded all the :dung: that accumulated in the back of the jeep, removed the roll bar, rear axle, and got one side of the rear frame cut off. My sawz all battery died prior to cutting the other side. so for sheits and giggles I rolled the rear end up to see how well I measured the spring hangers.. Bingo.. slid right in.. actually easier then they would go into a stock set of hangers.
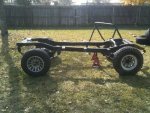
IMG_0420.jpg

the 2 different rims are because the front is a 6 lug 44 and the rear is still the stock WT 20. Speaking of axles... John J-10 axle went to Brian to get regeared and of course some thing has to go wrong. I got the call that the posi unit was shot. After finding the replacement parts for about $100 I remembered about a guy with a Lunch box locker with 325 miles on it and a new case for $80 so for about $110 shipped Im going to go that route with it. Im hoping its in before the weekend so brian can finish it up by next week.

Im crossing my fingers that the end of january will be bye bye Diablo time.[
 
Woo Hoo... got the repaired end welded on and the frame off the jack stands. I still need to clean up the welds and pick up some steel to plate the repaired area.
IMG_4103.jpg

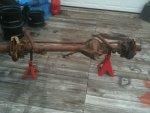
If any one wanted to know what the difference between the CJ and J-10 axles are.. here you go
IMG_4850.jpg
 
Got some time today to work on Diablo again.. did get as much done as I wanted to but looking back it still a decent amount.

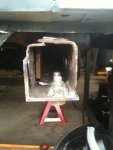
When working on the frame to get it ready for the swap I noticed the side wall near the rear shackle hanger was rotted away. I figured there was little chance that this area would rip out since it was boxed and seemed solid on the other 3 sides, then a buddy called to tell me how he was mudding his CJ5 and ripped that area out of the frame.

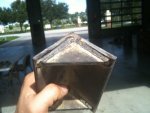
So I decided a few pounds of prevention were in order. I started by removing the rotted rear cross member.
IMG_6366.jpg

I used a sawzall to cut as close to the frame as possible

IMG_9424.jpg

then I used a grinder to thin down the top corner
IMG_0117.jpg

Solid work of the air chisel peeled back the top

IMG_7684.jpg

When I did the frame repair before I welded the top of the cross member to the frame so I have to pry it up and use a sawzall to cut the weld

IMG_6698.jpg

I then used the grinder to grind do the factory welds on both side and it fell right off with a light hit from the hammer
IMG_9862.jpg
IMG_3226.jpg

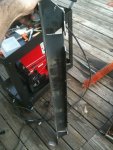
Now on to the plan to repair the damaged area. I picked up a peice of 3/16 angle
IMG_9200.jpg

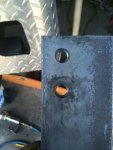
Measured the distance back for the bolt holes and drill em out to 1/2"
IMG_6519.jpg

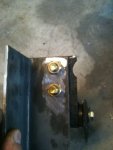
I drill out the holes in the shackle mount to 1/2" also then bolted the shackle mount to the angle
IMG_1970.jpg

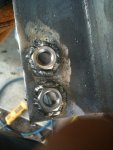
I welded all 6 sides of the bolts to the angle when I removed the bolts I was pleasantly suprised at the results
IMG_7654.jpg
IMG_8620.jpg

I then cut out the old rotted rusty stripped out bolts and fit the angle to the frame
IMG_4936.jpg

I ran a single pass over it to get it all aligned
IMG_6273.jpg

My next day out I will give it another pass and clean it up

I also was mid weld when I got a sniff of a funny odor..
IMG_7956.jpg

First time for a fire in the shop.. Yeah

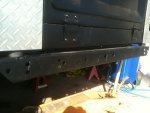
Oh disregard the 1/4" plate. I used it to align the two sections of the rear frame that I had put together. Even though I didn't get the whole rear done today I did get the other plate made for the other side and went to the local metal shop to have a new rear crossmember made. Custom made with out all the extra holes formed out of 3/16 steel for $60!! Can beat it. And it's less then 1/2 mile from home.
 
Got the bottom peice welded all the way in.
IMG_3872.jpg

Didnt take pics of the other side since it looks just like this one but now all the nuts and bolts for this area have been upgraded to 1/2-13 grade 8

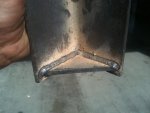
Heres the new member
IMG_2628.jpg
IMG_8095.jpg

and here is the cross member installed
IMG_0195.jpg

I wanted to get the gas tank and lines in but a buddy called for help on his CJ5 . next week in off 4 days so hopefully I will be able to get the rest of the rear section done and painted. then just waiting for Brian to finish up the gear install.
 

Jeep-CJ Donation Drive

Help support Jeep-CJ.com by making a contribution.

Help support Jeep-CJ.com by making a contribution.
Goal
$200.00
Earned
$25.00
This donation drive ends in
Back
Top Bottom