• Hello Guest, we are proud to now have our Wiki online that is completely compiled and written by our members. Feel free to browse our Jeep-CJ Wiki or click on any orange keyword when looking at posts in the forum.

Alternator

Alternator

two guns

Jeeper
Posts
39
Thanks
0
Location
Swamps of LOUISIANA
First of all, our CJ is a 80 model, AMC 258 i6 / 4.2l / 6 . The only alternator that would even head us in the right direction of replaceing was by the book, a pre-79 alternator.
Have done purchased one for that model, would not even come close.

And with that being said, once the alternator was installed, the belt would rub
one of the bolts, the big long bolt that hold the part in place. SO, un-installed
and finally come to the conclustion, that the pully had to go out a little more. So took a puller, removed old pully and robbed the spacer behind the fan and added it to the new alternator. Installed, worked like a dream.

How many has shimmed the pully on the alternator ? or am I the only person
that has run into this situation.

Before the " shimming", the old and the new looked the same, but there was a small difference of course. Like to drove me crazy !!!!
 
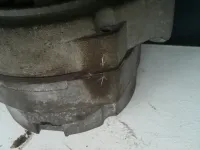
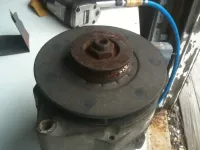
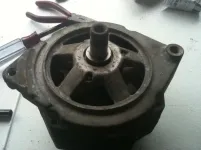
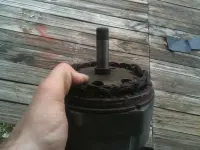
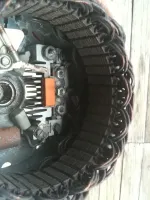
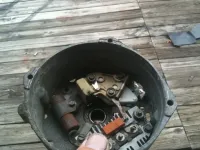
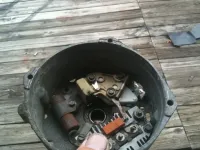
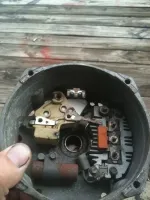
Pics of old and new alt's might help. I personally have'nt had to shim an alt pully yet.
 
what went wrong with your old one?

Here is the write up I did on a home repair of a 83 CJ altenator
jimbos76cj said:
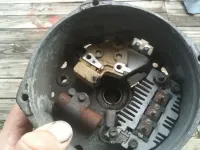
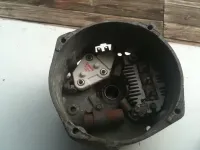
When removing the alternator from Johns CJ the regulator broke. It being an internal peice I figured I was out 80-120 bucks for a new one. Now being the inquisitive type I decided to take it apart and see how it looked on the inside, then I realized there was only 3 screws that held it in and figured maybe I could just replace it. Heres how it came apart and what was replaced.

After removing it from the Jeep first thing I did was marked the case so properly align it when reassembling
IMG_1312.webp
Next remove the nut.. on mine it is a 15/16.. Im pretty sure air gun is the only way to get it off with out beating your self up.
IMG_1317.webp
Then remove the pulley and fan. It took a little effort but both can off by hand. Once they are off you will find a bushing between the bearing and the fan.. keep track of it. theres another that is almost the same size and you can swap them.
IMG_1313.webp
After thats done remove the 4 bolts that hold the haves together. Then carefully separate. the halves leaving the the main parts in the bottom half. One that is done you will notice the second bushing.. again keep track of it.
IMG_1311.webp
Now find a clean safe area to pull out the main shaft. once its out theres 2 springs that will come loose, dont loose them. After all thats out it should look like the following pic. remove the 3 silver nuts ro remove the winding and better access the stuff on the bottom
IMG_1308.webp
IMG_1303.webp
The only difference between what your looking at and the above pic is yours will have its brushes flopping around inside
IMG_1303.webp
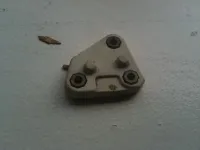
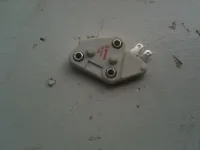
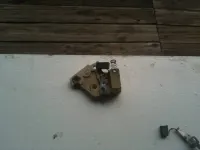
Now remove the 3 screws that hold the piece that holds the brushes and regulator down and remove the Diode, the brush holder then the regulator
IMG_1302.webp
IMG_1300.webp
IMG_1296.webp
I forgot to take a pic with the broken regulator but here is what it looked like
IMG_1294.webp
New
IMG_1295.webp
Thats all that was needed to replace the regulator. It cost 17.00 at napa.
I figured since i had it opened I would replace the brushes also.
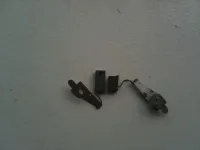
Heres an old and new compare on the brushes
IMG_1297.webp
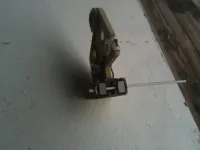
After changing the brushes out on the peice (I will find the right name for it) you must re-insert the springs, then place the brush in the slot and push it in. While holding it a small diameter piece of metal or plastic needes to be inserted into the holes to help hold the brushes back so the main shaft can be reinstalled. I used a piece of coat hanger. It has to be long enough to hand out the hole in the back of the case.
IMG_1298.webp
IMG_1299.webp
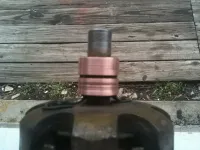
After that was done simply reinstal in reverse order. I used a peice of sand paper to clean the shaft end
IMG_1309.webp
That was what I thought was the end of the rebuild
Total cost = regulator 17.00 brushes 6.00
After I finished I proudly drove it to advanced to have them test it. Now it has a bad diode.. FML. but thats only 9.00 so for 32.00 the altenator has been almost completely bebuilt. you can also change your own bearings in needed. I actually took it all the way down to the bare case, but its not needed to replace the components I was just bored.. If any one wants to see the pics let me know and Ill added the rest of them.
Hope it helped.

I later found out that you dont have to remove the pulley from the front just the 3 screws and seperate the halves. if your bearings locked up on the front half then you have to remove the big nut and pulley. A impact socket makes short work of it. Maybe you can just replace some internals. and run the old case
 

Jeep-CJ Donation Drive

Help support Jeep-CJ.com by making a contribution.

Help support Jeep-CJ.com by making a contribution.
Goal
$200.00
Earned
$0.00
This donation drive ends in
0 hours, 0 minutes, 0 seconds
  0.0%
Back
Top Bottom