• Hello Guest, we are proud to now have our Wiki online that is completely compiled and written by our members. Feel free to browse our Jeep-CJ Wiki or click on any orange keyword when looking at posts in the forum.
    To dismiss this notice
    click the top right X.

Build Thread Father son CJ Project

Build Thread Father son CJ Project

JimsCJ5

Active Jeeper
Gold Supporter
Posts
488
Solutions
1
Thanks
9
Location
Atlanta, GA
Vehicle(s)
1979 CJ5 Renegade 258, t-18 pretty much stock except for a later model aluminum intake manifold and Gronk 2150.
We've been working on this Jeep for about a year so I am a little late with a build thread but here's the story:
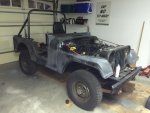
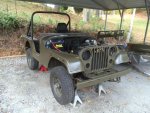
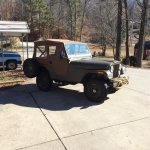
Bought this Jeep for my son for his 16th birthday. I paid $3,300 for a relatively rust free 79 CJ5 with the AMC 258 i6 / 4.2l . It was not perfect by any means but the paint was mostly original and it ran pretty good.
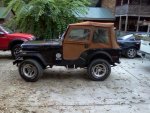
100113182441_zpse58f24e1.jpg

The plan was to do a military style CJ5 with out getting too crazy and to have it drivable for most of the time since he takes it to school.

The first thing to do was take stock of what we had. There were quite a few things the previous owners had done over the years that needed to be addressed.
First up was a cracked exhaust manifold. I took the advice of those on the forum and upgraded to late model aluminum intake. Much better. Soon after our exhaust guy installed a Flowmaster 40 and all new pipe exiting at the rear corner.
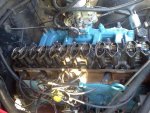
012914160128_zpsbd421a1b.jpg

I bought a set of stock wheels for it for $100 and we went ahead and painted them the color we wanted. Olive drab.
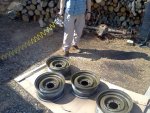
040114154957_zps0d7893f7.jpg

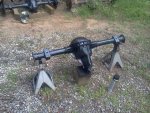
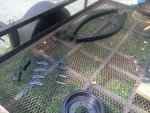
The next thing we had to do was fix a leaking rear axle seal. This turned into an expensive fiasco and we ended up going to one-piece axles. We also took the opportunity to replace all the leaf spring hangers and bushings, paint the springs and re-do the rear brakes.
070414112609_zps143cb374.jpg

070414112523_zps3c01bcdd.jpg

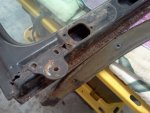
With that done the next project was to replace the rusty windshield frame.
081714131644_zps999f0b5a.jpg
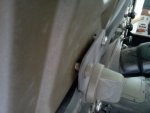
We bought a repop frame but broke two windshields trying to install it. Finally figured out the repop frame has a smaller opening for the glass and after some work with the grinder we got the glass in.

We are very unhappy with the fit and will be installing a used stock frame in the near future.
092414125447_zpsde8d437b.jpg

Next up was bodywork and prep for paint.
 
And we are back...
Ok so we had a few body issues.
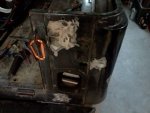
Holes cut in with a torch:
111613132834_zps834496ef.jpg
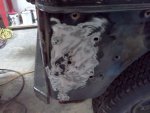
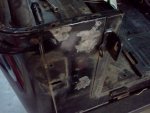
More holes and some rust:
080314132646_zps70d88df1.jpg
Cracks and holes from a body mounted spare tire carrier
080914174717_zpsa65216aa.jpg
A decent sized dent on the right rear quarter:
081014130150_zps60fc5220.jpg
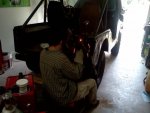
I turned the kid loose on it with a borrowed MIG and some welding skills he had picked up at Boy Scout Summer camp:
081014134645_zps9a96fade.jpg
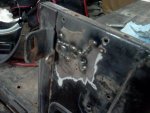
Not bad for a rookie
081014141728_zps50bd7f99.jpg
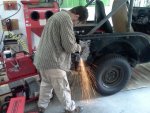
Obligatory grinding shot:
081014144501_zps6b132f29.jpg
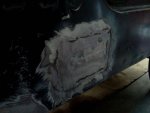
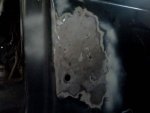
Not bad results. Certainly not show quality but then we are not going for that
081714083931_zps815cbafd.jpg
081714083941_zps7477df6b.jpg
081714083955_zpsaa52e1b2.jpg
081714084015_zps1dee950b.jpg
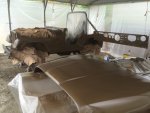
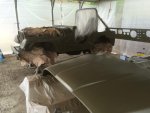
Body work done and scuffed and primed for paint.
217850E4-03AE-404C-81FC-09C739D80ACB_zpsc1ntleff.jpg
 
Ok picking up where we left off...
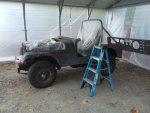
We needed a paint booth so we cleared some trees, leveled an area off the driveway and put up a metal carport. The floor is crusher run which was watered and tamped down.
06A9DFE2-9E90-4942-9493-FA80483618DA_zpsfeiwa2rg.jpg
We had to time this pretty well since we were painting outside. We needed a warm day, dry with little wind.
The paint we used was Rustoleum (Hunter Green and rusty metal primer in equal proportions cut with acetone). We tried this on the wheels and really liked it.
First coat went on great but the color was off a little. Too olive.
2FCE6C63-1998-4B64-AC99-48B5A3622065_zpscgn9cd39.jpg
After a quick confab the wife was dispatched to Lowes for more Hunter Green. We unded up with a ratio more like 2:1 but the color was much closer to what we had already shot.
D2B8621E-5D61-488F-B4B0-B4BE6CE6D86B_zps152ps2gj.jpg
You can see the difference here on the pieces of the blackout light.
C31BB974-6CBC-48C4-8FDB-1A35C1E674BE_zpswgllrlv6.jpg
Ok paint is on.
6ED8CB97-4BFE-45CE-AD8D-1AFFB1D67055_zpskzcdxrho.jpg
We are pretty happy with the paint. Not show quality by any means and there are dust specs in it but pretty consistent with some HumVees we looked at.
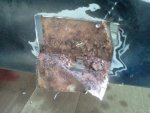
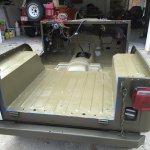
After paint we wanted to line the tub/ I took the advice of some here and bought some Monstaliner in olive drab. Again we had to wait for a warm dry day. While we were prepping it we discovered one of the seat belts bolts was too rusted to get off. We ended up cutting it out.
2BBA5A59-6CF9-4339-B2B4-C5B16F02C226_zpsic6i9klc.jpg
We welded in a new patch panel and applied the liner. Came out pretty good.
27D4E075-F993-4FD4-93B5-C393ECE1E6ED_zps6ixjgs2d.jpg
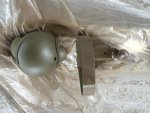
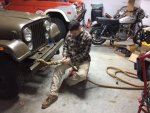
One item we had to fab were the headlight guards. We wanted ones that looked like the the M38A1 type so we bent up some steel rod and welded on some mounting tabs.
1188BD8C-44B9-41E2-A08B-F8EA6F7451A6_zpsh3cdtcio.jpg
Next up was the rope. We used 1 1/4" manila rope but I think 1" would have been fine too. My son put in the eye splices and whipped the ends.
5FE1726A-B759-4127-8EC3-AE5AF2B5AE0B_zpsc3ghzsxv.jpg
A new top and we can call it done.

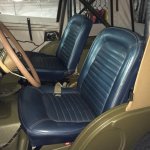
We purchased a set of low back seats for it but they were too far gone to use and the original seats were no better. I think there was nothing but rust holding the frame to the mounts. We ended up using the original seats from my 65 mustang with some fabbed brackets. They look pretty good but will need to be recovered.
117FC0F3-FC75-4739-AE5B-A46565F72DAB_zpsuz5t97ch.jpg
Some other things we did:
Mounted a blackout light to the left front fender.
Added a corner handle and custom license plate mount bracket to the left rear.
Sprayed undercoating on the wheel wells
Removed the plastic fenders and put SS button head bolts in the holes
Restored the gear shift knobs.
Replaced all the instrument lights and heater cables
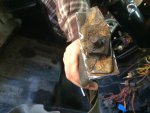
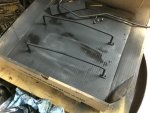
Rebuilt the heater box and sprayed it with undercoating
Sprayed the inside of the hood with undercoating.
Etc, etc, etc.

Stuff we still need to do:
Front suspension bushings
Better mirrors
WS frame
Reupholster mustang seats in palamino
3 point seat belts
install a radio
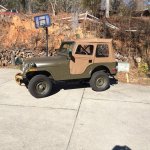
Here are a couple of shots of the finished product. It's the coolest thing in the HS parking lot. It certainly has been a lot of fun.
A big Thank You to everyone on the forum. We could not have done it without all of your help.
7A2D859C-4457-438B-899D-92A9AC489294_zpscait8fjf.jpg
EFD9781D-E09F-4740-B6F1-0A9EF3151135_zps9albuozp.jpg
 
Looks really good! You and your son should be very proud. As a Retired Army Veteran, I'd be proud to drive it. Rod
 
That’s cool that you and your son could work together on the project, and have it come out looking great.
 
Wow. Nice work. I am envious. I'm at the beginning of my search for a oldish CJ and it's great to see the hard work look so danged pretty. I only hope that I and my son will be as successful. Very nice job!
 
Very nice looking rig. I would have loved to have had something like that in high school. Something for both of you to be proud of.
 
That's nice work and the best part is your son will take good care of it because he knows the work that went into it.
 
Sweet looking lil CJ, y'all did yourselves proud :chug:
 

Jeep-CJ Donation Drive

Help support Jeep-CJ.com by making a contribution.

Help support Jeep-CJ.com by making a contribution.
Goal
$200.00
Earned
$25.00
This donation drive ends in
Back
Top Bottom