Build Thread 1986 CJ-7 Renegade : Memories

Build Thread 1986 CJ-7 Renegade : Memories
Another super important post! I figured everyone would want to see this.

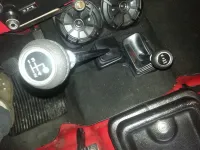
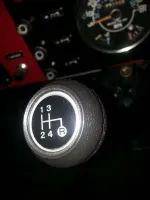
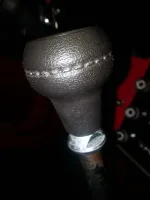
New shift boot, knobs and locking nuts! Old ones were pretty roughed up and they didn't match and only the boot was original (saved). Put Never-seez on threads so the knobs/nuts will come off easy without damage if I have to take them off.

No close up picture of the new transfer shift knob. Sorry. Good stuff huh?

CjPgxyG.jpg
5hcQxgx.jpg
zNVGcdA.jpg
 
Another super important post! I figured everyone would want to see this.

New shift boot, knobs and locking nuts! Old ones were pretty roughed up and they didn't match and only the boot was original (saved). Put Never-seez on threads so the knobs/nuts will come off easy without damage if I have to take them off.

No close up picture of the new transfer shift knob. Sorry. Good stuff huh?

Saw some really nice shift boots the other day from a place called strongholdshiftboots.com. Looked like they would hold up for a good while
 
Love the finishing touches


Sent from my iPhone using Tapatalk
 
Saw some really nice shift boots the other day from a place called strongholdshiftboots.com. Looked like they would hold up for a good while


Dude those are some sweet shifter boots


Sent from my toilet using Tapatalk
 
I’m gonna be needing boots as well - gonna hit that site tonight when I finally sit down. The Chinese boots have a reputation of disintegrating after a year or so. Was gonna make some up outta leather but if these will hold up I’ll go that route.


Sent from my gas grille using Tapatalk
 
Dude those are some sweet shifter boots


Sent from my toilet using Tapatalk

My last boot has survived several years now, but the ones before were :dung:. Going to get one of those next time. Sent from the outhouse using TP of course.
 
Who knew a post about shift boots would get such a response!

Let's see how this goes..........

Fuel pump install!!

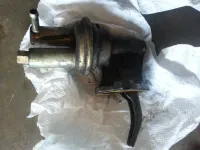
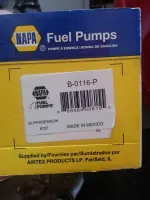
Started to have to crank longer and longer to start and the engine seemed to run less and less smooth. Trouble shooted and there was a good chance it was the fuel pump. Had a spare in the JEEP just in case anyway so decided to put it on. Mechanical fuel pumps are cheap!

Easy as pie. Used flare wrench to disconnect fuel line. Get a set if you don't have one! If the flare nuts/bolts are tight you have a much better chance to round them off with a regular wrench. It's not as easy to replace a flare nut/bolt vs a regular nut/bolt. Use them on fuel lines and brake lines.

Use a box wrench to hold back the fuel pump while you loosen/tighten the flare nut/bolt on the fuel line. Less stress on fuel lines, etc. as you tighten/loosen.

Put never-seez on the 2 mounting bolts. Put some nice graphite tape on flare line bolt.

No issue putting in pump. Really only 1 way it could have gone in but I triple checked it. I was NERVOUS on first crank!!! Some pressure inserting the pump as the pump arm pivots up but the bolts snug it up good/smooth.

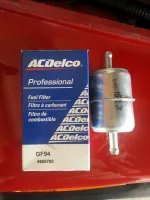
Installed a filter BEFORE new pump on the advice I've seen some of you give. Simple.

Cranked up right away just fine! Checked for leaks. None. Good to go! Oil pressure steady as a rock now too! Engine seems to run smoother. Fuel fluctuations on old pump must have cause engine to not run smooth which caused oil pressure to fluctuate. Have to get another spare pump just in case.

As always, all comments welcome!

Old fuel pump
aAUFa0f.jpg

New fuel pump box
AZySx4C.jpg

Fuel pump pre-filter
xJYn1z0.jpg

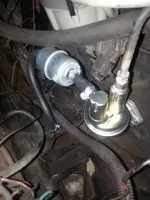
Pic of installed fuel pump and pre-filter
7V3QNwz.jpg
 
Last edited:
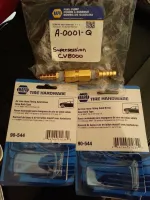
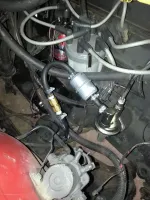
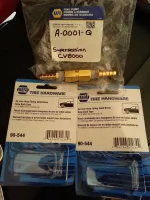
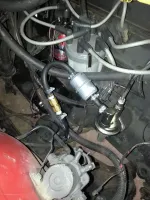
Installed inline fuel check valve to keep fuel lines full. Heard it helps with quicker starts if the Jeep sits for a bit between drives which I did notice. Used some good graphite tape on fittings. No issues.

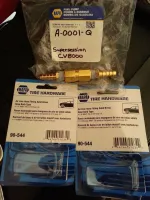
Check valve and fittings for hose connetion
ll5bf6K.jpg

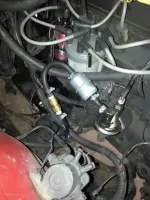
Intalled
NRNdtnX.jpg
 
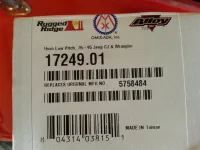
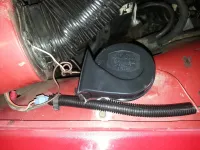
Installed new horn. Old one was really weak. Guess everything wears out.

New one has a separate ground wire but I just ran it to the same place where the horn bolts on with the included bracket. On the old one the attachment bracket that was part of the horn was the ground so no need for a separate ground wire.

New horn is very very loud!

Old horn which was thrown into the keep box
rPyRZKC.jpg

New horn box
F2lfkv9.jpg

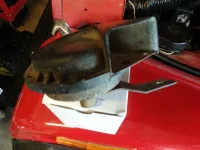
New horn installed
baC383l.jpg
 
Installed inline fuel check valve to keep fuel lines full. Heard it helps with quicker starts if the Jeep sits for a bit between drives which I did notice. Used some good graphite tape on fittings. No issues.

Check valve and fittings for hose connetion
ll5bf6K.jpg

Intalled
NRNdtnX.jpg

If that works I will have to do it to mine.
 
Very, very interested in your results...!!!

You installed this between fuel pump and gas tank (just to confirm what I think I understand)?

Looks like you are using a 2 port fuel filter. I'm using the three port filter between the fuel filter and the carb and wondering if this might make a difference in check valve placement?

Installed inline fuel check valve to keep fuel lines full. Heard it helps with quicker starts if the Jeep sits for a bit between drives which I did notice. Used some good graphite tape on fittings. No issues.

Check valve and fittings for hose connetion
ll5bf6K.jpg

Intalled
NRNdtnX.jpg
 
I am using a 2 port fuel filter between check valve and fuel pump to protect the pump. Then I have the 3 port fuel filter between the fuel pump and carb.

So it goes.....

fuel line from tank
check valve
2 port filter
fuel pump
3 port filter
carb

You just can't see the 3 port fuel filter after the fuel pump in this pic. Sorry for the confusion caused.

One thing to mention is that even though those are air line fittings, they are brass and the check valve is for fuel and brass. Don't go get an air check valve!
 
I wonder if two filters and a check valve is going to restrict the flow enough to hurt performance.
 
I wonder if two filters and a check valve is going to restrict the flow enough to hurt performance.

Well I drove it going 55-60 for over 2 hours and didn't notice any difference. I was wondering too if I needed to get a check valve with less resistance to opening but this one seems to not effect it. Time will tell.
 
Installed upper and lower radiator hoses. The lower one was a little too long so had to shorten it some. Guess that's better than having it too short! Other than that there were no issues. No pics. :p

Gates #20573
Gates #20733
 
I'm ordering the same parts from Napa.... and thanks for clearing all that up.

Don't know if you know this already (probably do but I'm going to say it anyway for those that might not know) but there is an arrow on it indicating direction of flow. Make sure you get it pointed in the right direction when you install. ;)
 
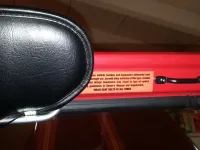
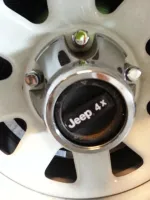
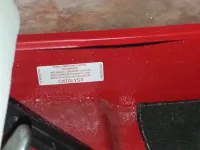
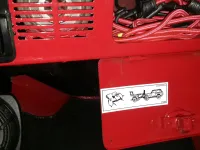
Sticker/label time! I bought some reproduction stickers/labels some months back. Kinda forgot about them until I happened to see them laying among my "to install" parts box.

Disclaimer: These pics are for my particular year/model/specs/emissions. All stickers/labels shown were placed according to research and/or where outlines/shadows/evidence of my previously removed stickers/labels could be seen. Maybe this will help some of you if you can't find examples/pics.

I'm sure I don't have them all but it's a start.

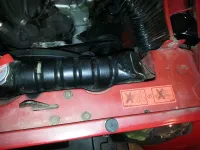
Fan/Radiator warning label
08gG2pW.jpg

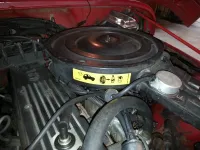
Air breather housing label
8k59ENT.jpg

Seat belt warning label
xmlUpGv.jpg

Locking hub sticker
6qLyuWM.jpg

Grey emissions control label
SE752ht.jpg

Tow label
weeVqSD.jpg
 
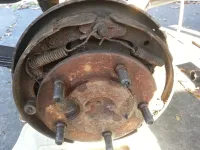
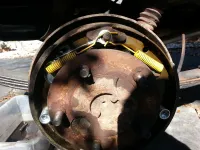
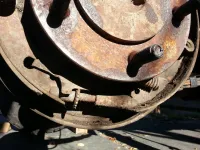
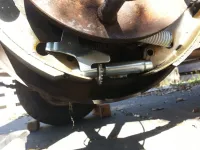
Rear drum brake job time! This will take multiple posts for details but first one we are gonna cut right to the chase and show the before and after pictures. This is the rear passenger drum.

cSRhF9w.jpg
MjSUTTb.jpg
2xEMax4.jpg
QTYen2C.jpg
 

Jeep-CJ Donation Drive

Help support Jeep-CJ.com by making a contribution.

Help support Jeep-CJ.com by making a contribution.
Goal
$200.00
Earned
$25.00
This donation drive ends in
Back
Top Bottom