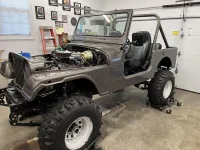
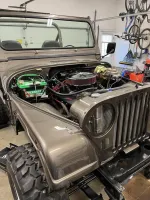
Build Thread 1986 CJ7 Rebuild - Chasing my youth

Build Thread 1986 CJ7 Rebuild - Chasing my youth
Hmm, maybe I’ll hold off and do the stock arms. Don’t plan on driving in the rain too much anyways.

Bilzean, the seal was the OEM one. My father and law cleaned it up and it was seal very pliable. He was a glass guy for 30 years so I’ll put my faith in him.

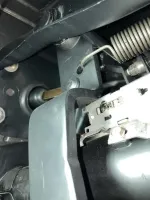
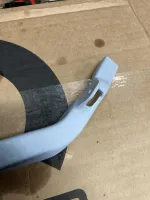
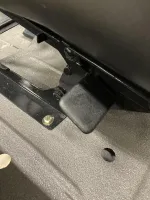
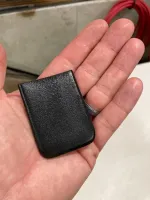
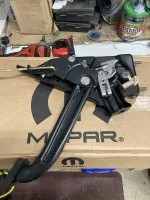
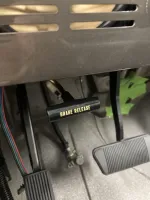
Been lots of little :dung: since. Fought my brake pedal sticking and had to notch my pedal arm, no idea why. A little body filler to my modded gas pedal. And had to hit the folding seat handle cushions with some 303 Protectant and they came to life.

9b9363f6e1cde028107a5f994620904f.jpg
1652184768e67f56fff0321cc11243ba.jpg

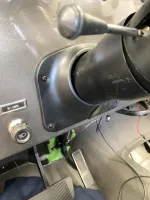
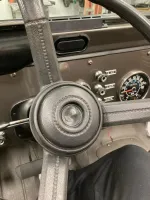
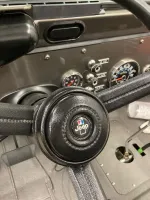
Tried some of the SEM plastic paint, stuff laid down awesome on the column shroud. Also have a awesome hardware store a little ways away where I was able to get some black painted stainless screws for the shroud.
b3a697dce50198c47737891cb6aad588.jpg
72dc157f98312cf30d8fbf008cfde640.jpg
e4e8d6f849d3535db6172750abcc5afe.jpg


I had been fighting my ebrake return spring after I tore the original apart and sandblasted, painted and rebuilt. Got sick and tired of it, so I threw it to the side. Ordered another used one. So if course I wanted it to look like my refurbished one. So I threw it in a container of Evaporust this time without disassembling. Well, got side tracked and didn’t get back to it for two weeks and when I pulled out, the same damn return spring had disintegrated in the solution. Grrrrr. So I took a chance on an NOS one from Greece off eBay, and got damn! Perfect! Got in 4 days and only thing is the white lettering has yellowed.

3e6c0db5835caac7133c7071f79e06a6.jpg


9b58fbf2877cd9c0ca13c4fcc740b186.jpg

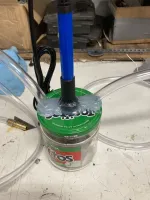
I also built my own vacuum leak detector and it worked great. No leaks other than the studs on the Holley throttle body. But Holley said those should seal up with some heat cycles of longer drives.

eec6571043e62be30025e1e06885ea44.jpg

And then lastly, the best part, should wait till the end, but couldn’t help myself.

f9c74903656c17c0ed5c24a97e8d6e13.jpg
1f30e35e62d515ca966b8ba8b94819ca.jpg

Much better


Sent from my iPhone using Tapatalk
 
Nice find.
 
Absent dash pad, wide brake pedal for automatic application. Finish that single TC stick smooth and chrome to match floor shift for that balanced matching awesome look…
 
Very clean and finished looking. Great job.
 
So hadn’t done much on the rig from a running standpoint since I had my first drive at the end of August. So came out a couple of weeks ago to get work on the oil pressure gauge and sender and it won’t start. Cranks, but no fire. Noticed I have only 20psi of fuel pressure. So do some T shooting and nothing obvious. So here we go. Drop the tank again and well, it was out of gas! The new Crown sender needed adjustment and it just seemed to be giving some real flaky ohm readings. But the big surprise was the Eastwood tank sealing I had done.
Oh :dung:!
a9cef9b149d54e8028a7da3196af0e92.jpg

The reviews on the product were ehh, some great, some not so great. I felt that I followed the prep to a T, but it’s only had two gallons or so in it and less than a year and it was peeling already. It hadn’t clogged my pick up but it would eventually.

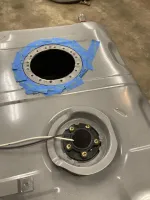
So new tank purchased and one of our fellow CJ owners talked me into a Tanks Inc floatless sender. Well, the piece works great on my gauge but the mounting flange holes were way off. So bunch of time spent filling the holes and retapping them.

b401364327babbebc226eed15c83d138.jpg
19550fdeed9d7712e07d95ed93a4dc6c.jpg

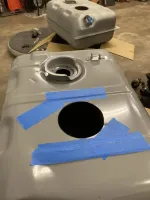
I really wanted to utilize the stock sender location. One because it was the right depth for the length of the sender I purchased and I just like the look of having it there and not trying to plug the OEM hole.

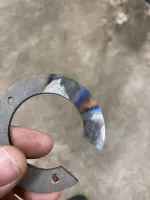
But it had a good ridge stamping to it. So I busted out the hammer and dolly and flattened it pretty good. Tacked in the sender mounting ring as well as the fuel pump ring. I didn’t like how the hole was a little to big and only half of the gasket was going to really contact the tank under the sender, so I layed in some ugly filler welds and ground down the snot to give a little more surface area.

This time instead of doing the tank sealer (was worried about corrosion after I cut the pump hole) I’m going to do the Eastwood brake caliper paint. I’ve used this stuff several times and it stands up to brake fluid, acetone, break cleaner and I would assume gas as well. Just want to head off corrosion.

5f7cd264d41648a9439f00ebea670602.jpg

ebc100b0309a87b74182fc15ab378d77.jpg
5b66ddedcd75a540af3d09daef04a5c4.jpg
4c95fd2a9d68179b2417c8c0a93a74d6.jpg
c4d9fbb04c0b8e46c8b14d9756b747e0.jpg
c1f1e853045d64d9bd8acee49cf74660.jpg
e8ba18fc2f44d949bbe6ee8fc1f32188.jpg
3354bbf821f5d4384aba493c5d0b5a8d.jpg


Sent from my iPhone using Tapatalk
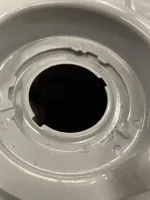
 
First time my tank gives me problems after installation, it gets ditched for an aftermarket fuel cell, and I plan on using an external electric fuel pump designed to handle today's ethanol (10-15%) fuel.
Nice job on the sender, have to figure out what I'm doing there yet, haven't decided on the fuel gauge yet either.
 
I flipped flopped on an external fuel pump or an in tank one, and I landed on the in tank because this will be almost exclusively a summer time, no doors and no top rig and I don’t want to hear the pump. But from a service standpoint dropping the tank sucks.


Sent from my iPhone using Tapatalk
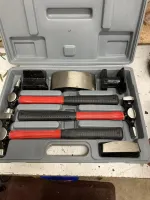
 
I flipped flopped on an external fuel pump or an in tank one, and I landed on the in tank because this will be almost exclusively a summer time, no doors and no top rig and I don’t want to hear the pump. But from a service standpoint dropping the tank sucks.
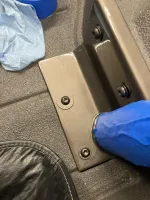
I also prefer an in-tank pump for the same reason - the sound. Perhaps consider cutting an access port in the rear floor over the tank for any future service work without dropping the tank.
Video link
 
I flipped flopped on an external fuel pump or an in tank one, and I landed on the in tank because this will be almost exclusively a summer time, no doors and no top rig and I don’t want to hear the pump. But from a service standpoint dropping the tank sucks.


Sent from my iPhone using Tapatalk
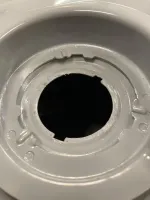
mine will be the same, no top or doors, but might go in tank, not sure yet, if I do, I'll be customizing the tank mounting for easier removal or bed cutout with access door
 
Mine is an in tank and so far it is great. I can only hear mine for a couple of seconds if there is dead silence, when I turn the key on.
 
I think even if I mount mine outside rear frame area, I'll be hard pressed to hear it with a 350 carburated engine hugger headers even with some kind of decent full exhaust, the drivetrain/exhaust will prob drown it out
 
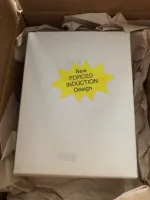
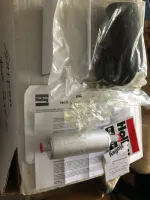
I have this out of tank pump I bought from Holley probably 2-3 years ago. For my Sniper engine project. Decided later to go in tank. If there is anyone that wants it, I will ship on your wallet account. 6FB27F39-8D37-40A9-95A2-23FC617B1AC1.jpeg364CB776-2590-4311-AD11-FCA9977CAC83.jpeg
 
I have this out of tank pump I bought from Holley probably 2-3 years ago. For my Sniper engine project. Decided later to go in tank. If there is anyone that wants it, I will ship on your wallet account. View attachment 77129View attachment 77130
will it work for a carburetor, or will it be forced to restrict too much even with a regulator
 
Not a clue, but since it was for EFI I would say probably not. Give it a read tonight, while you are tossing a log on the fire. It’s 75 F right now, time to take a ride to test the Jeep some more. :cj7:
 
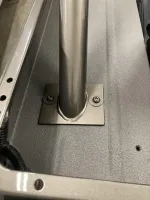
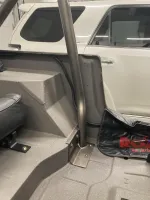
Been real busy with work and then had some family stuff to pay attention to, so haven’t touched the Jeep in weeks. But one of the last things I did was drop the roll bar in and find that I didn’t like the size of the standard size washer to match the bolt size.
And I don’t know why, but I really prefer the painted hardware look. I know it’s not for everyone, but it’s my project. So of course I already had had the painter paint a batch of washers, but the didn’t fully cover the mounting holes and just didn’t seem to look right. So I went and got some larger ones and did it all over again with my painter.

Finally got them back this weekend and decided, nice small project to ease back into the garage.

Comparison of washers.

57f5739751ff84a3dac1cf2741b133bc.jpg

3a41279ecae3483eecab085465067889.jpg

And really glad I went with the body color painted roll bar.

c64e6d1df6d702617d698a9e9ca4c4ed.jpg

Time for me to get back rolling on this.


Sent from my iPhone using Tapatalk
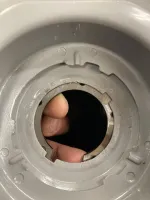
 
Well, again, can’t get over how fast time flies. Last posts says at the end, let’s get going on this and I look and that was 3 month ago.

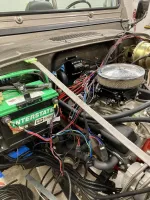
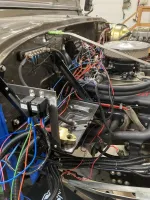
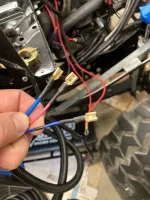
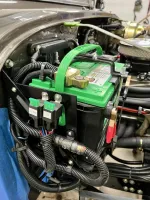
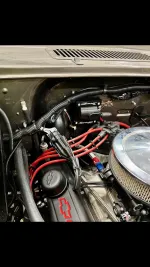
We’ll finally have all the wiring cleaned up and complete. Fabbed up a bracket for a couple relays. All cables to battery and starter loomed. Sniper harness pruned and cleaned up along with primary harness.

Where it started.
085c87f6912245a1db4ee2314b2d3054.jpg
f409b34b135ef28aa79cc9dc6a2b8c2c.jpg


Cleaned up the relay sockets
0630ee4a1e6d8c2e5d503e7422a15259.jpg

Battery bracket and relay mount done
a1b89826904f4e41d509d1078c68d345.jpg

Final loom and cleanup
14ae96fd1b1abc97b6a5a8750b4624b1.png
8f7e33b35f7165a351f2e5c05df8ad84.jpg

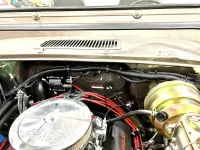
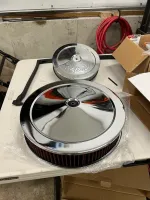
Lastly, got an appropriate sized air filter assembly in (needed to hit that Summit Free shipping threshold)
c43ba8b5a66f933f1aad578146252d6f.jpg


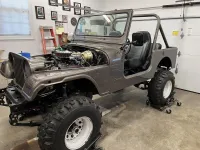
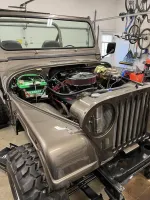
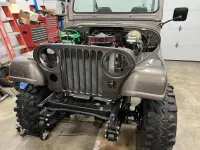
Hoping to get front fenders and final grill
Mounted this week.


Sent from my iPhone using Tapatalk
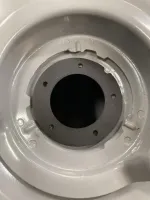
 
Next big step.

a9934a5241cd42911e0568a0507fbf8c.jpg
51bc8fd65b45b69b19dd535c5b02fd35.jpg
25adfb4f1502e79002a779da664cfce8.jpg


Next is try to figure out the million pieces I have for headlights. I only took 2 pictures 3 years ago. Dammit


Sent from my iPhone using Tapatalk
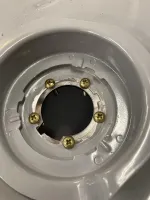
 
Next big step.

a9934a5241cd42911e0568a0507fbf8c.jpg
51bc8fd65b45b69b19dd535c5b02fd35.jpg
25adfb4f1502e79002a779da664cfce8.jpg


Next is try to figure out the million pieces I have for headlights. I only took 2 pictures 3 years ago. Dammit


Sent from my iPhone using Tapatalk
Only a million? :rofl:
 

Jeep-CJ Donation Drive

Help support Jeep-CJ.com by making a contribution.

Help support Jeep-CJ.com by making a contribution.
Goal
$200.00
Earned
$25.00
This donation drive ends in
Back
Top Bottom