• Hello Guest, we are proud to now have our Wiki online that is completely compiled and written by our members. Feel free to browse our Jeep-CJ Wiki or click on any orange keyword when looking at posts in the forum.
    To dismiss this notice
    click the top right X.

Build Thread 79 CJ7 Frame Off Resto 1st Time Project

Build Thread 79 CJ7 Frame Off Resto 1st Time Project
Rod , love the trailer. If I can't get a Scrambler by Spring I may do the same thing. ThCjs looking good as well. Nice to see your still at it. :chug:
 
Re: 79 CJ7 Frame Off Restoration

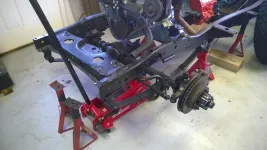
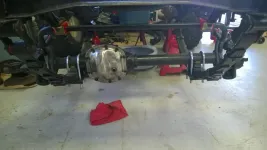
Got a chance to work on the CJ this week. Next part of the project was to replace the worn front axle u-joints. But, since I got this really cool 4 inch lift kit with shocks for only $296.00, it is time for a complete front axle rebuild. I mean, what the heck, might as well do it now. So, time to tear everything down.

WP_20141215_002_zps8660cc88.webp

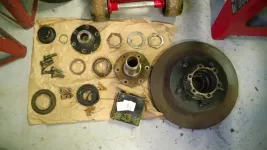
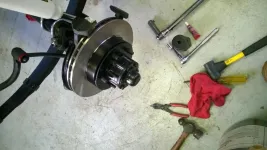
Here's all the parts! Getting the hub off was easy.

WP_20141217_003_zpsfec869b2.webp

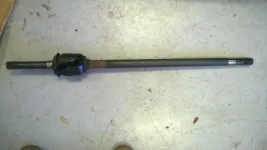
Getting these original equipment u-joints out was not! :mad:

WP_20141215_014_zps030c3a89.webp

After all, they are 36 years old..........

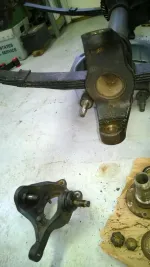
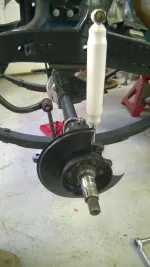
Got the spindle off ok.

WP_20141218_009_zpsd2df3e0e.webp

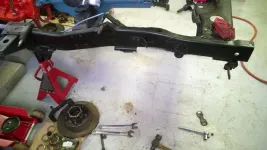
Not looking forward to taking the original equipment ball joints out. Oh well, that is another day. I did get the axle and leaf springs off.

WP_20141218_014_zps46e3ac3c.webp

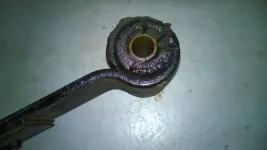
Guess the bushings need to be replaced too! ;)

WP_20141218_013_zps09556646.webp

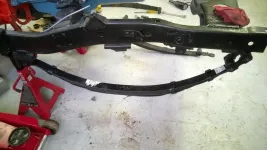
So I did get one of the leaf springs back on. Will be replacing the shackles once I order some more parts after Christmas. :D

WP_20141218_015_zpsc0ada949.webp

Still got to ask a couple questions about seals before I start putting it all back together. Wish I had a locker to stick in at this point, but funds say that will wait. At any rate the goal here is to revamp the whole front end so that there are no worn parts etc. The lift kit was an extra to good to pass up.

More to follow....... Rod
 
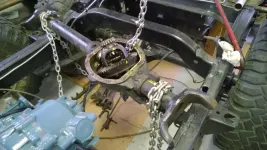
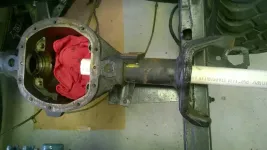
After posting a question about the front differential, I got the answers that I needed to proceed. (Thanks for the help guys!:notworthy:) I pulled the carrier to be able to get at the inner axle seals. Prying the carrier out just didn't happen. :bang: Maybe if the axle was still attached to the frame it would have been. So I got creative and used some chains and my engine hoist. :rolleyes: That hoist has been really handy! It finally came out and unscathed. The seals were worn as I had lots of dirt/oil/crud mixed in the axle tube. I then used an 1 1/4 inch pvc pipe to pound the seals out. :D This pipe also helped in cleaning the axle tubes out.
WP_20141221_014_zps28b88269.webp

WP_20141221_015_zpsf7f22621.webp

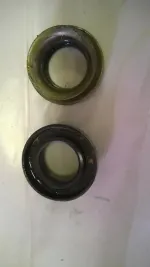
Here are the old seals:

WP_20141221_016_zps32662fb8.webp

I cleaned the differential out. Got all of the old sludge out of it too. Here it is.

WP_20141221_017_zps9a3f9057.webp

I still plan to flush it out with oil before reinstalling everything, just in case there is some left over debris in there. Got on line and order the seals that I need to put everything back together. Will most likely order some shackles and new ball joins after the first of the year too.

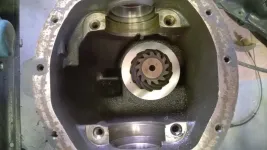
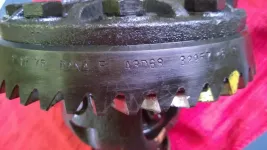
I'm going to post this question to the forum, but thought I would put the picture up here, too. My front differential is geared 3:54 to 1. The actual gear has 46 teeth and the pion has 13. This doesn't jive with the chart CJ posted in the Tech Forum. But the math figures it correctly. Wondering if this ins not an OEM differential? :confused:

baaa0f9e-b6a4-4b09-973e-c5d52569cacb_zps100009ae.webp

Rod
 
WOW! thats some in depth, and VERY nice workmanship... SO clean and tidy... VERY very nice!
 
Thanks! I should have a "New Jeep CJ7 " when done. Hehehehe :drool: Rod
 
Needed to press the ball joints out from the knuckles, so last week I got a HF 12 ton shop press.

WP_20150113_003_zps7759e431.webp

Works great. Pushed those ball joints right out.

WP_20150113_004_zps01f82ccd.webp

:banana: Rod
 
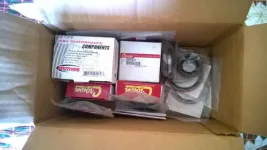
I also bought $80 worth of parts for the front axle.

WP_20150105_001_zps04a2b446.webp

Doesn't look like much! :( Maybe if they had sent it in a bigger box I'd felt better. :confused:

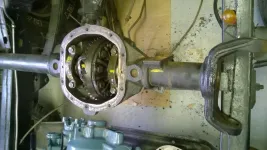
So first thing to do was replace the inner axle seals. :bang: They came out a lot easier than they went in. Then I got the differential put back in and torqued to spec.
WP_20150113_001_zps831b7220.webp

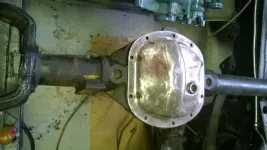
Flushed the interior of the differential out with some oil just to make sure there wasn't any dirt, sand, crud left in there from cleaning out the axle tubes. Stuck the differential cover back on just to keep general garage dirt out of it.

WP_20150113_002_zps7e1640b2.webp

Next step will be to reinstall the axle on the springs and finish putting it back together. Ordered the new ball joints last night. Should get back on it this weekend or first part of next week.

:lpopcorn: Stay Tuned...... Rod
 
The Press is a great addition, I use one at work a lot. :D glad to see you sorting out the front end as well. You'll be happy you did in the long run. I finally found my steering issue was bad axle shaft u joints. Keep it coming. :lpopcorn:
 
Thanks Pete. :chug: That's actually the same reason I tore into the front axle. My axle u-joints needed to be replaced, so while I had everything tore apart, why not do it all. :rolleyes: That and I got this killer deal on a lift kit. ;) Installing the lift kit also IMHO means that all of the other components need to be up to snuff. Besides, it was fun. :D I've never taken an axle completely apart before. Rod
 
Got back in the shop for a couple of days. Put the u-joints in the axle knuckles, and after some advice pressed the wheel studs out to separate the hubs from the rotors. Even got the grandson involved. Rod

WP_20150116_003_zpsae7fa177.webp

WP_20150116_004_zpsc5f97809.webp

WP_20150116_005_zps37479a55.webp
 
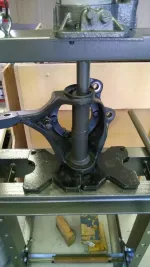
Pressed the new Ball Joints into the knuckles today. Boy, do I love my new HF Shop Press. :D I used a couple of impact sockets to help press them in.
WP_20150119_005_zps8a2d44c0.webp

I then set the axle back into place on the new leaf springs.

WP_20150119_010_zps95610f60.webp

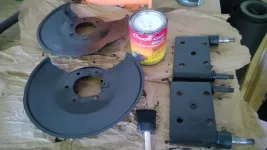
And I was going to bolt it all back together, but realized I needed to repaint the lower support brackets. So I POR15 them.

WP_20150119_009_zpsd8621355.webp

Rod
 
It was a beautiful day here in Texas, so I worked on the Jeep most of the day. Bolted the axle to the springs. Bolted the sway bar with new bushings and longer control arms.

WP_20150125_003_zpsb64e478d.webp

Got both knuckles bolted up. Installed the shocks. Also bolted up the driver's side spindle, dust shield, and caliper bracket.

WP_20150125_010_zps53550fd7.webp

So then I had to at least finish out the drivers side hub and rotor. I used my press to reinstall the hub and rotor assembly. Also new seals, new grease, new rotor, and new spindle nuts and washers.

WP_20150125_012_zps0f3b7fea.webp

I'll most likely do the other side tomorrow. Then I will have a like new front axle assembly and a new 4 inch lift! :dbanana: Rod
 
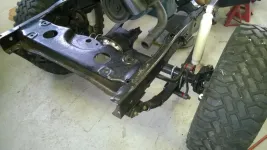
Finished the passenger's side wheel assembly and buttoned up the font end. Other than shackles and the front shackle hangers, the front end should be complete! :banana: Here is a picture.

WP_20150126_001_zps0b36ff75.webp

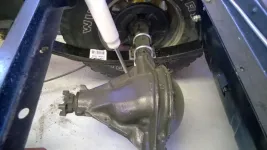
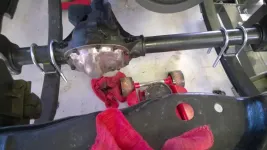
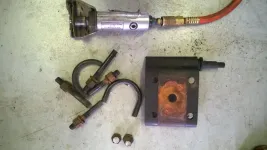
Next I took the rear axle off to install the new springs. The impact barely moved the nuts on the U-bolts. :bang::bang::bang: No problem, here is where a small cut-off wheel came in handy.
WP_20150126_005_zps99549e77.webp

Had to cut the spring perch bolt too! :bang: Oh it get's better.............

WP_20150127_001_zps564f9070.webp

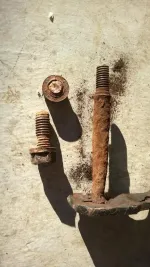
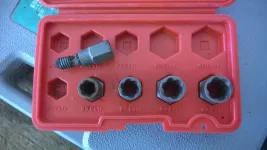
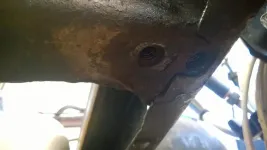
Yes that is the rear shackle and the bolts from the shackle hanger. :bang: Rust! :biggun: In order to get the rear shackle hanger off, I needed my craftsman bolt extractors. Yes I twisted one of the bolts in half. :bang: As you can see in the picture, it didn't take much.
WP_20150127_003_zps96782aa0.webp

Here is where the hanger was. As you can see the nuts that are welded in the frame are fine. A good clean up and I was back in business.

WP_20150127_005_zpseabf966b.webp

Bolted everything back together.

WP_20150127_008_zps711121bf.webp

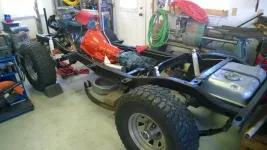
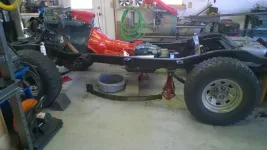
I'll replace the shackles and the spring hangers in the near future. Have to come up with some money and order them. Over all it looks really good. Once I replace the rear axles with one piece, the suspension will be done!!!!!!

WP_20150127_010_zpsabde9765.webp

WP_20150127_011_zps3ceed45b.webp

More to come, Rod
 
Looking good Rod. Must be nice to to see it as a rolling chassis now. It was time for those shackles to be replaced for sure. :eek: The things you find when you take things apart.
 
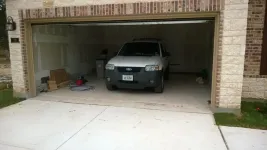
Been awhile since I posted anything. Life events seem to always get in the way of working on the jeep. These were good life events though. We had a house built, I went through physical therapy and steroid injections on my neck due to 4 herniated disc with 3 pinched nerves and 1 intrusion on the spinal chord. The neck is finally doing better. The new house is done and we moved. Had to paint the entire inside of the house, install fans and shades, etc. BUT, the best part is I've been working on my "Dream Garage"! So here are a few photos of what I did.

This is what it started out as.
WP_20150511_002_zpsh0w4nzwf.webp

Next I textured the walls and ceiling.
WP_20150903_001_zps9ptt5spl.webp

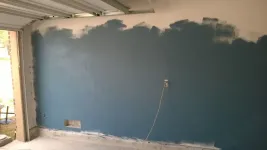
Started to paint the walls. Ceiling is white, walls are Blueprint Blue.
WP_20150905_002_zpswvmkuhvr.webp

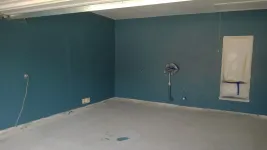
Finally got the painting done.
WP_20150905_004_zpsuswusygd.webp

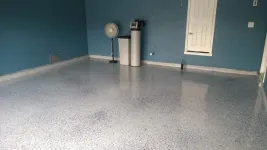
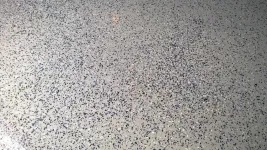
Then I started on the floor. Cleaned it really good, ground down some problem areas, the laid down a two part epoxy floor covering with a base of gray and a top coat of clear. Used blue, black and white flakes in between.
WP_20150919_003_zpsrdkftld9.webp

Here is a close up of the floor.
WP_20150919_004_zps9hs4hhbo.webp

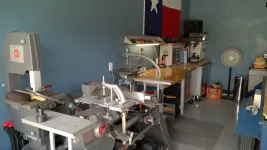
Added benches and tools. Also a little refrigerator.
WP_20151018_001_zps749gh0om.webp

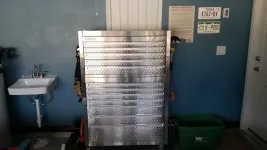
Tool box and sink.
WP_20151018_002_zpsjf9qugg6.webp

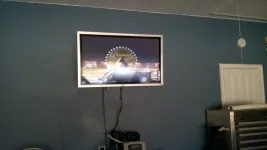
And of course a TV that doubles as a computer monitor.
WP_20151019_001_zpswpbk1y0f.webp

So most likely after the 1st of the year I'll move the jeep over here and start working on it again in STYLE :cool:
 
Congratulations on the new home!
Good to hear your feeling better.
Jeep is coming along nicely, any updates?
 
Congratulations on the new home!
Good to hear your feeling better.
Jeep is coming along nicely, any updates?
x2 getting old is a bitch sounds like you have been thru alot glad you are better always enjoy reading your posts.:chug:
 
That is one sweet setup! Nice!! Enjoy. I'm still playing hockey 2x a week at 45 and half my team is older than me - keep up the good fight!! Good luck with the neck and back.


Wooly
 

Jeep-CJ Donation Drive

Help support Jeep-CJ.com by making a contribution.

Help support Jeep-CJ.com by making a contribution.
Goal
$200.00
Earned
$100.00
This donation drive ends in
0 hours, 0 minutes, 0 seconds
  50.0%
Back
Top Bottom