Build Thread 84 CJ7 coming full circle
Scooter402
Senior Jeeper
- Posts
- 865
- Thanks
- 0
- Location
- Back East
- Vehicle(s)
- 1984 CJ7 - SBC 402, TH350, Dana 300, Dana 44 front and 12 bolt rear with 4.56 gears, 38" Boggers;
2006 Dodge Ram 2500
And the saga continues...
I didn't have time to work on this on Monday, but I made up for it over the last couple days. Got the last panel stitched in to tie the floor to the back wall of the cab.

I obviously still have that pesky rust issue in the floor over there, but I'll get to that later. I want to get all the "big" things done first, then go back for the details.
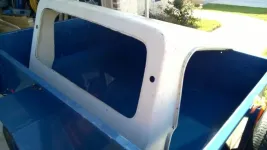
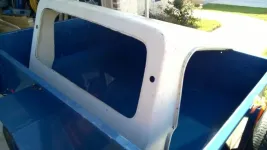
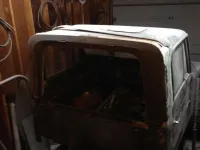
A few shots of the (nearly) finished cab. All the sheet metal is hung, I just need to finish welding it in, smooth and level the surfaces, and primer and paint. I still have some small holes to fill from the rust on the passenger side, but again... Details, details...


Then it was time to get to work on the frame. I set the frame on jack stands forward of where I was going to cut, measured a couple things, scratched my head, shrugged, then started swinging the sawzall again.
(Sorry for the blurry pictures...)


The material I'm using to stretch the frame is 2 x 4 3/16" wall rectangular tube. I ended up with an 18" stretch. The problem was that the 2x4 fits inside the frame rail, but with a little room. So I had to address that.

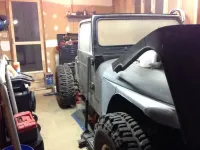
One shot of the new wheelbase for posterity:

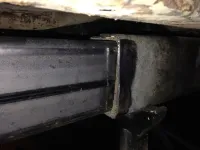
How I ended up tackling the fitment issue was snug the 2x4 up to one corner, then pie cut the "gapped" corners, hammer the frame rail flanges down flush, and weld 'er up.
Pie cut and prepped: (mmm...pie... :drool: )

And welded. I know, I'm cheap... I still use flux core because I haven't coughed up the cash for a gas bottle.

Repeat that a few more times, and the frame is essentially done:

So the official numbers after the stretch are now a 114" wheelbase.
I'm happy and comfortable with how the frame splices are, but for extra insurance, I'm going to grind the welds smooth, and tie the splices together with a 10 or 11 gauge fish plate across all the vertical joints. I'll also still need to add 10" or so to the back of the frame behind the shackles so I'll end up with a decent bed length.
We're going to take a short break over the weekend, but when we come back... We'll be putting the top back together. Stay tuned!
I didn't have time to work on this on Monday, but I made up for it over the last couple days. Got the last panel stitched in to tie the floor to the back wall of the cab.
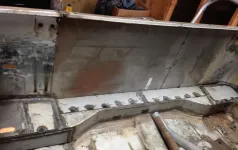
I obviously still have that pesky rust issue in the floor over there, but I'll get to that later. I want to get all the "big" things done first, then go back for the details.
A few shots of the (nearly) finished cab. All the sheet metal is hung, I just need to finish welding it in, smooth and level the surfaces, and primer and paint. I still have some small holes to fill from the rust on the passenger side, but again... Details, details...
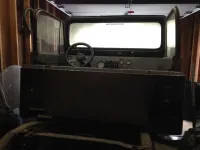
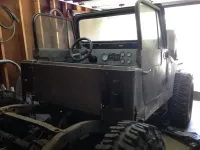
Then it was time to get to work on the frame. I set the frame on jack stands forward of where I was going to cut, measured a couple things, scratched my head, shrugged, then started swinging the sawzall again.
(Sorry for the blurry pictures...)
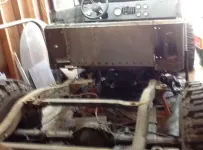
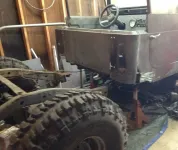
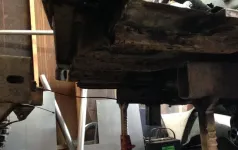
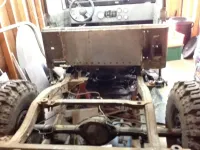
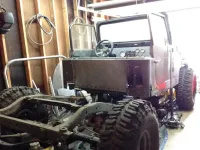
The material I'm using to stretch the frame is 2 x 4 3/16" wall rectangular tube. I ended up with an 18" stretch. The problem was that the 2x4 fits inside the frame rail, but with a little room. So I had to address that.
One shot of the new wheelbase for posterity:
How I ended up tackling the fitment issue was snug the 2x4 up to one corner, then pie cut the "gapped" corners, hammer the frame rail flanges down flush, and weld 'er up.
Pie cut and prepped: (mmm...pie... :drool: )
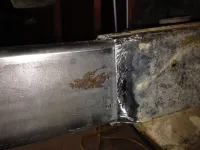
And welded. I know, I'm cheap... I still use flux core because I haven't coughed up the cash for a gas bottle.
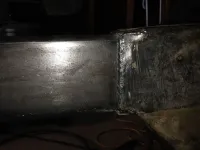
Repeat that a few more times, and the frame is essentially done:
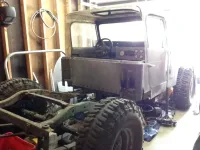
So the official numbers after the stretch are now a 114" wheelbase.
I'm happy and comfortable with how the frame splices are, but for extra insurance, I'm going to grind the welds smooth, and tie the splices together with a 10 or 11 gauge fish plate across all the vertical joints. I'll also still need to add 10" or so to the back of the frame behind the shackles so I'll end up with a decent bed length.
We're going to take a short break over the weekend, but when we come back... We'll be putting the top back together. Stay tuned!


 You'll be driving a truck before you know it.

 :rock:
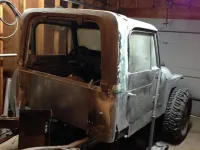
 Hey Scooter, what's going on? Talk to us man. Here's a little teaser for you: