• Hello Guest, we are proud to now have our Wiki online that is completely compiled and written by our members. Feel free to browse our Jeep-CJ Wiki or click on any orange keyword when looking at posts in the forum.

Build Thread First cj7 build 1985

Build Thread First cj7 build 1985
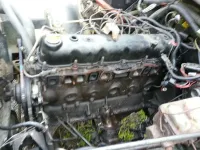
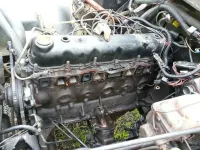
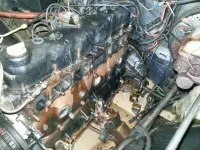
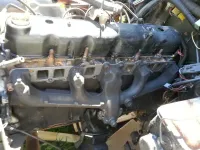
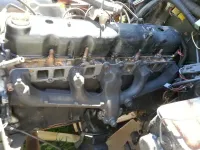
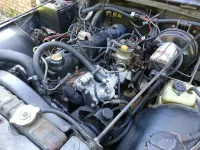
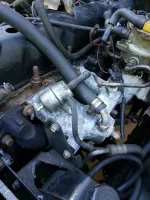
There was a bit of talk, alot of research and an hour of time, but the exhaust manifold is off. The tough part is all the aspects that need to be removed and adjusted in order to remove it. There was one casualty, the orange coolant hose decided to crack, but as my buddy said better now then later. This is to be expected of a 30 year old car. I had to call the heavy artillery in, my buddy Ron to give me a hand with the removal.

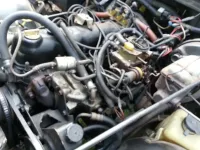
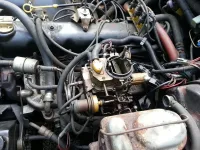
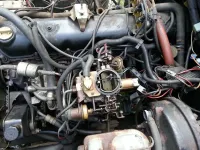
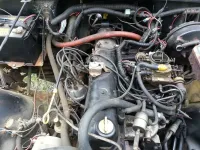
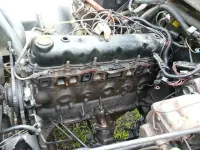
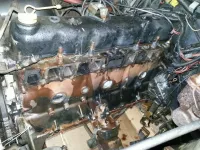
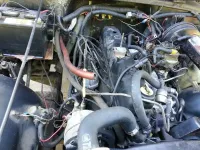
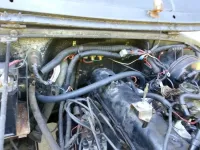
Here is the basic starting point. I'm trying to remove all aspects of the emissions system. If you remember I performed the nutter Bypass so there is no need for those communist parts....

20130821_151612_zpse0714931.webp

20130821_151616_zpsd8854eb6.webp

20130821_151620_zps3b146ed0.webp

20130821_153837_zps6e093ee4.webp

Here is some of the emissions parts removed....

20130821_153845_zps7c28671b.webp

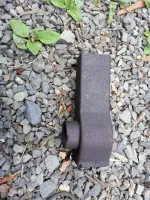
Worlds most hideous hood ornament... Lol

20130821_160600_zps04aee769.webp

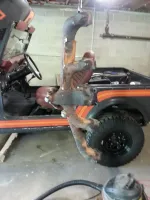
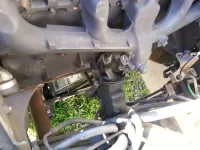
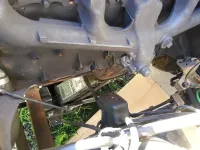
After a hell of a struggle removing the bolts she finally let go... It was similar to delivering a child I imagine... reach in, look around, adjust, reach again, pull, push, reach some more, and finally something happens. Lol

20130821_165316_zps67d94b3a.webp

20130821_165324_zps86535a60.webp

20130821_165332_zpsddf42896.webp

Completely removed.... We decided this would be a great time to change motor mounts.... So those will be ordered up tonight... Going to getting all the grease all stripped off soon.

20130821_170627_zpsa3ab9bd5.webp

20130821_170630_zps5c846438.webp

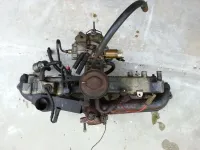
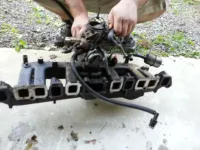
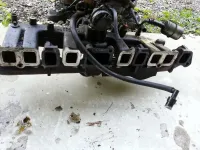
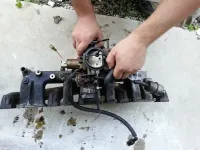
Here it is in all its glory... The intake manifold and exhaust manifold are attached by a single pipe....Me the angle grinder and the impact made short work of that....

20130821_170642_zps76540aa8.webp

20130821_170706_zps747c70fc.webp

20130821_170709_zps29d944a8.webp

20130821_170713_zps879fcbcd.webp

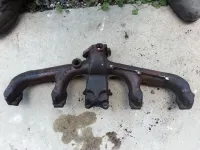
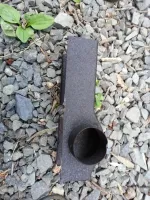
Finally I get them apart... I removed the heat stove from the exhaust manifold as the car will be garage kept in winter....

20130821_174744_zpse520c473.webp

20130821_174738_zpsd5f75db4.webp

20130821_174730_zpsa5f0c594.webp

20130821_174727_zpsd97532f8.webp

The plan from here is first get everything cleaned up, then change out the motor mounts, figure out what parts can be removed from the engine bay, lastly remove the rust, plug holes,remove broken stud and hit it with a high temp paint.... Trying to get this buttoned up quick I'm really dieing to get out while there is some nice weather left...
 
Had some free time today and spent it cleaning, painting a few parts....

First thing I tackled was the engine bay, with the manifolds out I figured this would be a great time to clean all the grease and dirt that has built up. I used amsoils foaming engine clean and oven cleaner. That combined with the hose and a brush it came out very clean.

Here is the before picture....

20130821_170630_zps5c846438.webp

And after...

20130824_153718_zpsd53a808f.webp

20130824_153726_zps5597ac67.webp

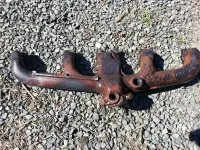
Next I cleaned up the exhaust manifold... I removed all the loose rust and dirt....

20130824_154056_zps2a3eba3d.webp

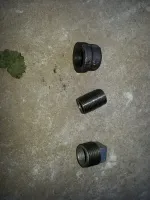
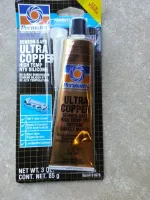
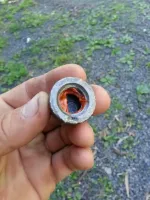
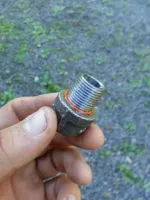
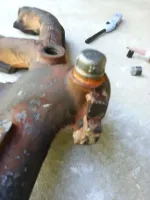
If you remember there were some holes left after removing emission based sensors and parts.... I went to home Depot and found some galvanized pipe fittings to plug them up nice.... I also used a high temp gasket sealer to ensure a tight fit.

20130824_170321_zpsedabb988.webp

20130824_170422_zps75ab97cd.webp

20130824_170622_zpsde219d31.webp

20130824_170727_zps763d7d5e.webp

20130824_170945_zps9125a44b.webp

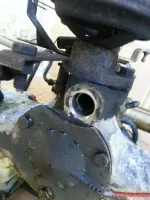
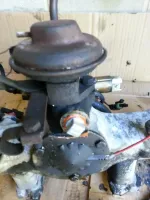
Hole that needed plugging on the intake...

20130824_171246_zps742cc93b.webp

20130824_171615_zps76d9d9b7.webp

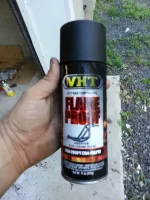
I decided to paint the manifold with a high temp ceramic paint....

20130824_184230_zpsa814fd2c.webp

20130824_172048_zpsccf7e7d0.webp

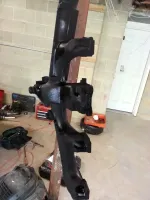
After the first few coats

20130824_172453_zpse2029151.webp

20130824_172509_zps7a6d2b5b.webp

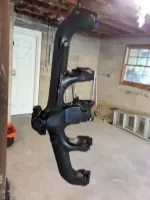
As I write this the manifold is being baked.... It needs to bake at 250° 400° and 600° each for 30 minutes with 30 minute cool downs in between....

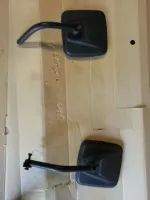
I had some time to kill so I sprayed up the side mirrors which I've been meaning to do for awhile...

20130824_175638_zps0883856b.webp

That's it for now...

Well you guys are all up to speed now... This Wednesday me and a friend plan to get the manifolds all bolted up, get the exhaust system complete and remove all communist emission related parts... Lol stay tuned for more updates!!
 
You got alot done since I approved this thread yesterday. :D Nice work.
 
Well I'm a quick worker lol ;-)... That's why I was anxious, had a bunch of posts written up wanted to get them out.
 
One thing I did want to ask..... I have been pushing the car around alot mostly in and out of the garage and it feels incredibly heavy. I think something may be hung up. With everyone's experience here where is the first place I should look? I'm hoping that when I get her driving around a little more thing well start to loosen up a bit.
 
If its that hard to push Id be looking for a caliper or rear drum being hung up. Who knows what froze where with how long it sat.

One thing I did want to ask..... I have been pushing the car around alot mostly in and out of the garage and it feels incredibly heavy. I think something may be hung up. With everyone's experience here where is the first place I should look? I'm hoping that when I get her driving around a little more thing well start to loosen up a bit.
 
Guess easiest thing would be jack up each side and see which tire doesn't like to spin... Why didn't I think of that sooner lol.
 
Today we made many steps forward but also alot backwards.... The objectives for today was to get the motor mounts in, install exhaust, get exhaust and intake manifold back in place.....

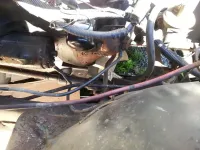
Here is where I started today... Motor mounts.

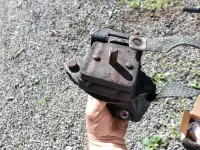
As you can see the stock motor mounts were pretty beat up and deteriorated

20130904_093735_zps8ef26625.webp

After I got it removed...

20130904_095823_zpse3becdc3.webp

Here she is looking very tired...

20130904_095832_zps43aeec83.webp

20130904_095837_zps50825767.webp

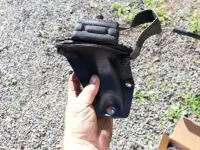
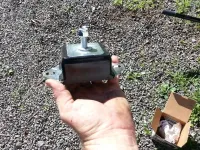
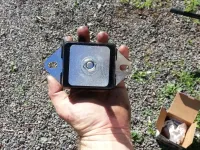
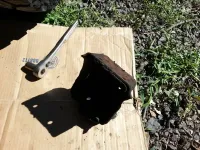
Here is the new daystar poly motor mount. The quality is pretty obvious.

20130904_095846_zps46e1d888.webp

20130904_095848_zpsd9cd2192.webp

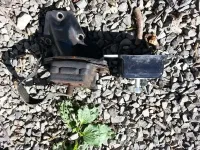
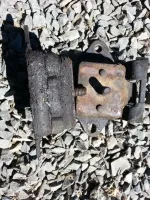
Comparison photo...

20130904_095856_zps4fb3a7b3.webp

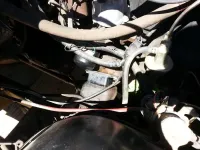
The drivers side was much easier then the passenger side however it wasn't to complex just more things to remove in tighter quarters...

20130904_105122_zps8cd58f5a.webp

20130904_105131_zpsd24873bc.webp

New mounts installed the engine actually sits just a bit higher now since the mounts aren't fatigued

20130904_121202_zpsa13367f1.webp

Poor things they served it well for nearly 30 years

20130904_121248_zps14426e8e.webp

In place

20130904_124628_zps7aa98ceb.webp

20130904_121202_zpsa13367f1.webp

Gasket and exhaust manifold in place....

20130904_124628_zps7aa98ceb.webp

Everything back in place... It started up however it was a bit fussy with the idling....I should have stopped here... Lol

20130904_142324_zps0f044f03.webp

20130904_142330_zps7282b0e5.webp

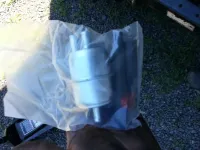
I figured it be a good time to swap out my old fuel filter with a new one...

20130904_142456_zps9016e395.webp

20130904_142504_zps50520492.webp

Here is where things started to spiral..... It was either a moment of insanity or a moment of clarity all depends how you look at it....

I was attempting to do the post Nutter bypass wire removal as seen here

Post-Nutter Bypass Wiring Removal - Page 2 - JeepForum.com

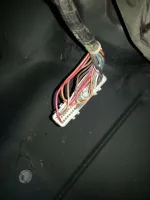
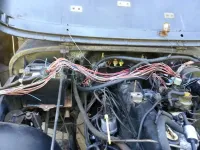
Here is the rats nest of wires.. You can also see the new hose I ran from manifold to heater core

20130904_145911_zps3d3c9cee.webp

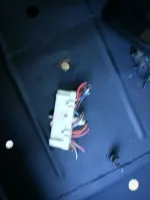
So I decided to unplug the computer and cut off the connector...

20130904_154047_zps6be60121.webp

20130904_154440_zps22e02f73.webp

Then I took off the hoses cover and the diagnostic port...

20130904_160407_zpsad551348.webp

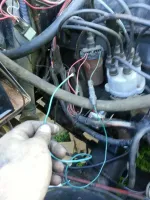
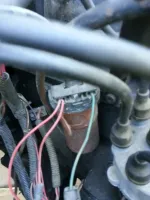
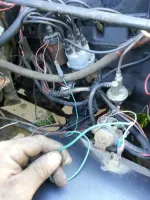
Then this happened in my Edward siccor hand moment of cutting and removing wires... I accidentally cut the green wire on the coil I didn't realize it right away, the only other wires cut were a black with white stripe a light blue and an orange I'm 95% sure all those other wires were from the computer... My question is where is that green coil supposed to go and where....

20130904_163342_zpsb7cc9f4f.webp

20130904_163345_zps8c75344a.webp

20130904_163351_zps4d6c7c97.webp


The exhaust clamp I ordered was too small sending it back... In closing productive yes but frustrating that I have this set back...
 
Looks great, you seem to be making progress which is always good. Keep the pictures coming. These folks here know jeeps inside and out.I will stay tuned!

Sent from my DROID RAZR HD using Tapatalk 2
 
My 83 should have the right set up. I'll look where the green wire goes and post back.
 
Thanks for the kind words guys... I appreciate the help with the wire I suspect it goes to the ignition control box... I'm not positive though
 
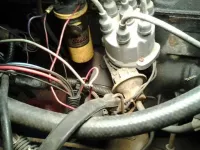
Ok at one time my coil was swapped for an Accel. Mine is also an 83. The wire coming off the side of the coil you show isnt green on mine , its red. Mine wires into the harness that goes to the fuse block. That wire is red with a green or blueish green stripe. This is the best I could do taking pics with my phone. Its kinda hard to see but you have the two wires going off the left that your not concerned with. That red wire is the one of yours thats green. It loops a little under in the photo and connects with one other wire headed to the solenoid harness and that red with a green / blueish stripe.

Now that I probably confused you more my job is done. :D

wire_zps25186c18.webp
 
Lol thank you that gives me a great place to start I'm thinking of switching to a Msd 6200 ignition and bypass the entire module.. What's everyone's opinion on that?
 
I've seen different variations of this but this discusses the Msd unit more...

Ive used it without the MSD and liked it , but I switched carbs at the same time. Some people will say go with the H.E.I. and others lean this way. I tried both and prefer the Team Rush. It was two different 258s but both had the Mc2100. Im going to use the Team Rush with the MSD when I get that far on the Limited .
 
Alot of options... I have an Msd headed here tomorrow.. I'll probably pair it to the team rush mod ultimately
 
1980 CJ7 AMC 258 i6 / 4.2l : my green wire goes from the coil and disappears into the plastic sheathing. Only place a green wire comes out of the sheathing it ties into the back of the fuse box at D4. There is another green wire that comes out of the fuse box at the same terminal (they are tied together) and runs directly to the electronic control unit (C4). TSM wiring diagram seems to confirm. Good luck, you're making quick work of it. :chug: Guess my picture post worked after all.
 
That is some out standing work.. Now the electronic control unit is what? That is not the same as computer that controls emissions correct?
 
Just a few thoughts.... When I installtthe MSD unit will i be able to remove the old ignition box and all wires coming to bit and leaving from it, since I'll be eliminating the entire thing? Also I was thinking of installing it in the factory location is this a good idea?
 

Jeep-CJ Donation Drive

Help support Jeep-CJ.com by making a contribution.

Help support Jeep-CJ.com by making a contribution.
Goal
$200.00
Earned
$0.00
This donation drive ends in
0 hours, 0 minutes, 0 seconds
  0.0%
Back
Top Bottom