Build Thread The $120 Jeep CJ7 build thread

Build Thread The $120 Jeep CJ7 build thread
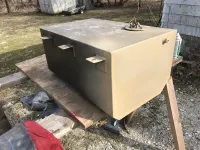
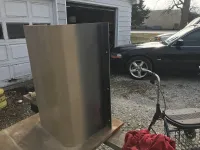
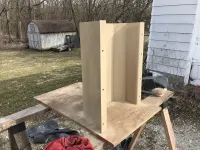
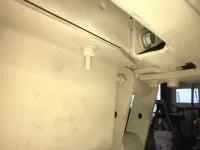
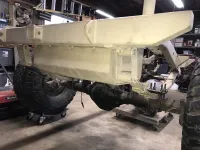
It's 58 out, and sunny... Perfect day to display my rather ordinary rattle can skills on the fuel tank and skidplate. Straight flat surfaces help.

This is exactly what I was afraid was going to happen. Spring was going to come, and the VA was going to schedule my shoulder surgery (on the 2nd) so as to coincide my recovery with the nice weather... After all, we can't have me doing work on my Jeep now can we?

NfIt22g.jpg


NRs8NAD.jpg


KDatWDw.jpg


I did get finished with the Jeep related barstool golf hole at my VFW. Of course, as the Commander, I'll be there Saturday for the event. As a matter of fact, I'll be keeping score of the teams as they file through. I put it away soon as I finished it, because we have a fish fry Fri night, but I'll get photos of it Sat.
 
Yeah, like I’m REALLY curious as to what a “Jeep related barstool golf hole” is....... I might have seen something similar in college, but I bet this is way different LOL. Looking forward to pics. And yes, the surgery gods are setting you up to work on the Jeep after it hits 100 outside.....


Sent from my desk at work - again
 
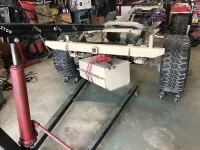
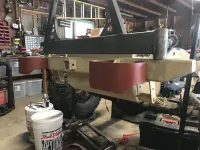
Eureka! The fuel tank and skidplate are in. That may seem like a relatively small milestone to the experienced builder, but to a first time novice like me, I'm very happy. This thing gave me fits today... I started on it myself, but warned my son (home on spring break) I may need some help once I get to the point of lifting it up, as it will swing around on the cherry picker.

nFc5qub.jpg

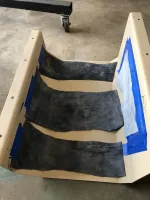
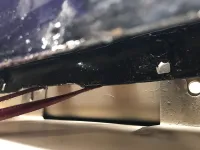
First off, my idea of putting some rubber between the aluminum fuel tank, and the steel skidplate didn't work out too well. The machine shop followed my instructions all too well. I had told them make it to follow the lines of the tank. They did, but it fit so closely, I was worried about it rubbing. Enter the pieces of truck inner tube.

nCfJHo4.jpg

Perfect for cushion. Also perfect for spreading out the skidplate just far enough so the holes no longer matched up... They weren't elongated like those in the tank. I ended up taking them out and just putting one in the bottom.

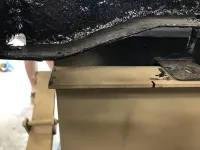
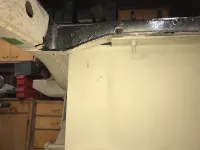
As if that wasn't enough, my test fit was with the tank only. It has individual tabs. The skidplate is bent with one long tab. That means the straps I was using to lift it with the cherry picker were hitting the last crossmember... She wouldn't go up into place. I had to lower it and re-strap it sideways.

KUxmA4a.jpg

At this point, I told my son this whole mess has pretty much been trial, and error. I've had to repair vehicles before. I've modified them before a bit, but this is the first time I've ever been so bold as to attempt to build one from the frame up.

OK, So it's re-strapped, an up in place. Still won't go. Guess what? Those one piece tabs again. This time on the front edge of the tank. I wasn't thinking about how the crossmember turns down at the outside edges. I just told them to build it that way because it would be more simple. (less expensive)

wjjvFYy.jpg

OK, kid (he's 22) hand me the big grinder with the cut off wheel... He wanted to do it in place, and I almost let him, but the dad got the better of me, and we took it back down. Last thing I need was the wheel getting tweeked and exploding a month or two before he graduates college. He was never interested in learning before, as he was a band kid in high school, and plus I was gone a lot on deployments, so we did this the right way.

Took a long notch out of the passenger side and a tiny one out of the driver side.

TL7aYm2.jpg


Here's where it got bad. After we got that fixed I went arount to the rear to tighten up those, and you guessed it... the one piece tab again. However, it was just w tiny bit where the bumper connects to the rear crossmember, and there would be no having to reach over the rear axle, so I broke my own rule and did it in place. Yes I did a "Do as I say, not as I do." dad thing... Just took like 20 seconds to nip off the corner.

xsz0Cb2.jpg


However... It's in.

WlDB2Lk.jpg

Probably be the last thing I get to do for a month or two as my shoulder surgery is Tuesday, but I'll probably be trying to tinker a bit on one thing or another... I just hope it works so I can get to fixin' stuff once I'm healed.
 
Looks good - At least you got to start your “break” with progress!! Keep us posted on your surgery - hang in there!!


Sent from the couch using Tapatalk
 
Well, the fish fry is over for tonight, and we set up the hole for Barstool Golf in the morning.

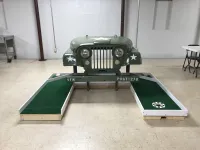
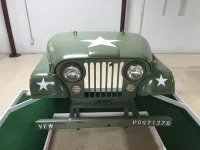
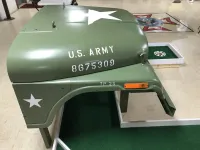
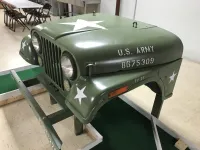
Here she is... "Jeep" themed as promised.

ff7au6D.jpg

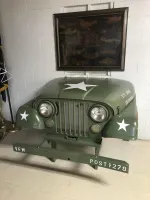
I took the fenders, grill, and hood from my old CJ5 , and did a M38A1 like paint job on it. The bumper numbers are VFW Post 1279 rather than unit, and vehicle number. They came off the Jeep that the drivetrain came off I'm using for this build. I was going to keep them as spares in case I bang one up on the trail, but they weren't that great anyhow, and being the VFW Commander kinda means you do a bit more... so I donated them.

Rst7fCQ.jpg

qoBxyMd.jpg

2DViOO1.jpg

When the hole isn't set up we put it under this wood carving as a display. We already got lots of remarks on it tonight. This was the first fish fry it was up for.

nDUzqEM.jpg

The hole goes up on end, and rolls away for easy storage in one big piece.
 
Great paint job ! Good luck with your surgery.
 
Very nice!!


Sent from the couch using Tapatalk
 
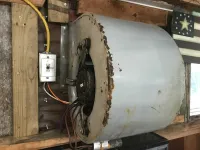
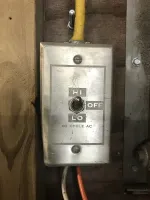
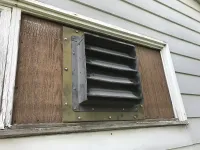
The healing process on the shoulder is going slow, but I have to do something.... I decided to go tinker in the garage today. Spring weather got me thinking about summer heat, so I installed a new (old furnace) garage fan. I used some parts from a fan that was originally installed in a Army expandable shelter. (big folding conex) Now I have a much better exhaust fan, with both high and low. Scrap lumber, and an assortment of different sized screws were on hand, so the cost was only my time.

edhId5l.jpg

XK6M7Ub.jpg

z59CqxV.jpg
 
I like the vent fan, i used to have one bolted to an old rolling seat that worked great as a fan in the garage
 
Shoulder surgery did not go as planned. Recovery has been more painful than the last time. I am 20 yeas older, and I may have done a bit too much too early, but it's starting to settle down a bit, so Today I went out to the garage to tinker on the Jeep for the first time in what seems like forever.

Nothing real heavy. I drilled, and tapped 8 holes in my rear bumper. These will be for mounting the bumperettes that the bumper numbers will go on to complete the M38A1 look this needs to pull off the military tribute.


6fF3DLX.jpg


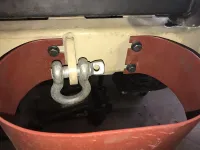
I ran into one problem... the tow clevis mounts. If I put the bumperetts on, I can't use the recovery points. Lucky for me, I have American ingenuity to make up for actual mechanical skills. I cut slots in the mounting holes in the bumperetts. Now I just have to loosen the bolts up a turn or two, pull one end off, (they are very flexible) then slide off the other end. Bingo... recovery points.

aQNObEm.jpg


I also decided to mount the tire carrier to the bumper, as it's been sitting around for months.. Had to sand the paint off the spindle though. the bushing is a very precise fit. I'll have to wait till payday to get some degreaser so I can paint it.

ADuyjUl.jpg

That was about all I could handle for today, so I called it quits, and went in. Felt good to get something done on it though.
 
Very nice - a little progress is better than no progress for sure. I like the bumperette idea - now you have cloaked ninja recovery points


Sent via my universal translator
 
Man I’m so glad to see your back at it, some progress is better than no progress take it easy with the shoulder and enjoy


Sent from my kitchen using Ones and zeros
 
keep diggin' in, if this stuff was easy everyone would do it.
 
I have always liked the looks of the bumperettes....... now I’m wanting a set.......


Sent via my universal translator
 
I have always liked the looks of the bumperettes....... now I’m wanting a set.......


Sent via my universal translator

I think I have a set around here somewhere if they haven't been stolen. I think their chrome. Not sure. I'll have to look this weekend.
 
Stepping into the wayback machine with Sherman I had a 84 CJ with 'em. I welded in a bottom and hinged top and turned 'em into lockable toolboxes. I always said I'd do it again if I got the chance. Well 3 CJs later I still haven't made another set.
 
Stepping into the wayback machine with Sherman I had a 84 CJ with 'em. I welded in a bottom and hinged top and turned 'em into lockable toolboxes. I always said I'd do it again if I got the chance. Well 3 CJs later I still haven't made another set.

That's a cool idea. If I didn't have the recovery points behind them, I'd steal that idea...

Weird thing is, it would be the perfect spot for... wait for it... the recovery gear.
 
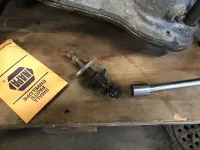
I managed to locate my torque arm bolt I thought was missing. Hell, I don't even remember taking it off, and it wasn't what I was looking for at the time... lol. Why don't I remember taking it off? Because I didn't. I went to move the skid plate, and there it was... giving me the finger.

Good deal, God loves me. I ordered up a bushing set, so we'll see what happens when that gets here.

wr5c2CS.jpg


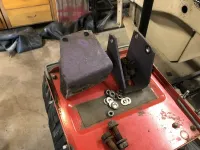
Then, I went to take the purple motor mounts off my green engine...

pYKtD5D.jpg

Whoever built that CJ5 I got this drivetrain from had awful taste in colors.

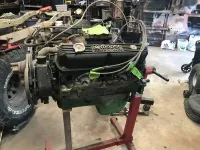
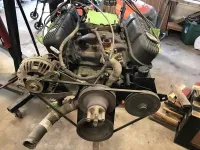
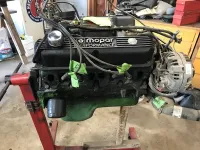
So, I'll soon be putting the drivetrain back in the frame, (soon, as in "this summer") and I got to thinking about the engine itself. It was running strong when I pulled it from the CJ5 , but it's been sitting on an engine stand for over a year now. It did have some issues, but nothing I was worried about at the time.

1. It got bad fuel mileage. Duh, a Mopar 360, 4.88 gears, no Overdrive , and 33s.
2. It did have a very slow leak at the weep hole of the water pump. (easy fix)
3. It was difficult to start during cold weather. Duh again, big ole v-8, 4 barrel with no choke.

Other than that, she ran like a striped ape. I'm concerned about the fact that it has sat for such a long time. I'll be hand cranking it... and all that. I never really paid attention before when I was tearing the CJ5 down, but now I notice that the drivers side of the engine is dry, and the passenger side is all oily... All 40 year old engines burn a little, or leak a bit, but I never noticed it when I was driving the green jeep...now I'm kinda worried, but I don't want to have to open her up, and kill my budget. if I don't have to. I have other expensive :dung: to get like fuel injection.

3UIwaep.jpg

PXwj3jV.jpg

qhB0RMq.jpg

Here is more of that wonderful purple that will be going away...

QfWaeQT.jpg

LdW7Gh1.jpg

I also picked up a gallon of simple green in preparation for getting a neighbor kid to help scrub the engine down this week....
 
Lol wow was the previous owner blind? The Mopar blue is a pretty engine color a lot of parts stores carry the hi temp spray paint to get that motor looking good it’s pretty similar to the old Petty race car blue

Also the Race Hemi orange is a nice color good and bright, the street Hemi orange is to pink for my taste tho

I look forward to watching more of your progress


Sent from my bill money source using Tapatalk
 

Jeep-CJ Donation Drive

Help support Jeep-CJ.com by making a contribution.

Help support Jeep-CJ.com by making a contribution.
Goal
$200.00
Earned
$25.00
This donation drive ends in
Back
Top Bottom