• Hello Guest, we are proud to now have our Wiki online that is completely compiled and written by our members. Feel free to browse our Jeep-CJ Wiki or click on any orange keyword when looking at posts in the forum.
    To dismiss this notice
    click the top right X.

Build Thread 1978 CJ7 - Christine

Thats one reason I prefer rocks. :D

One of the biggest things is that when you get back to the house it takes every bit of 2 hours to wash out the under carraige to get the salt and sand out which is a must!!
 
:ww:from Missouri, Great story:):)
hehe thanks! Glad I can entertain you all becuase if it wasn't for this site I would be in the dark 75% of the time.

The real thanks goes out to all of you that make this site the wealth of knowledge that it is!!!
 
Transmissionis grinding and jumping out of first :(... gonna replace the dogs first see if that fixes the problem... pics coming soon.
 
hows your clutch adjustment?

You have it too tight?

Otherwise yes i think you are on the dot with dogs...

Let us know! I've got to replace mine since does same in reverse...

:chug:

~ Jr
 
hows your clutch adjustment?

You have it too tight?

Otherwise yes i think you are on the dot with dogs...

Let us know! I've got to replace mine since does same in reverse...

:chug:

~ Jr

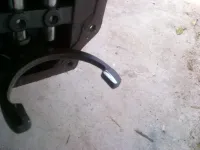
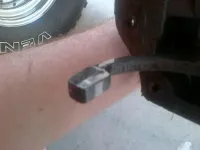
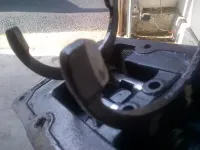
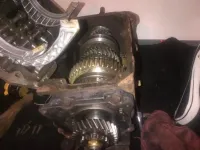
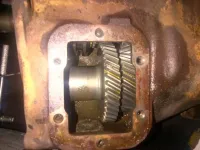
Well here they are... Seem really worn to me as the dogs are completely gone and worn into the finger itself in some spots. Anyone agree??

Either way I ordered new ones ( and a few other nick / nacks as usual that I absolutely did NOT need :) ) so they are on the way. I figure 75 bucks for the 2 dogs and a seal kit is alot cheaper than a full on rebuild. If it is still a blender after the fix then I guess I have no choice. We shall see!

Jacksonville-20130415-00530_zps542928cc.jpg

Jacksonville-20130415-00532_zps9144437e.jpg

Jacksonville-20130415-00533_zps2d53599a.jpg

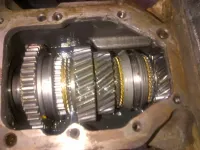
Everything inside the Transmission looked pretty crisp and clean.

Jacksonville-20130415-00538_zpsa7ede116.jpg
 
Well I replaced the dogs and it shifts into gear alot tighter... and seems to stay in gear as I start out ... but as i drive in first and then let off teh gas at it jumps out of gear. Very frustrating. Not sure what to do next.

I'll post a question in the help section.
 
Round one of the grease removal is done...

from...

Jacksonville-20130425-00570_zpsa240fae9.jpg
Jacksonville-20130425-00569_zps14f85f0f.jpg


And now without 2 inches of grease... oh.. and a Transfer Case :)

Jacksonville-20130427-00586_zps4e115286.jpg
Jacksonville-20130427-00585_zps44f866e3.jpg


now WHY would the P.O. put holes in the bottom of the bell housing??

Jacksonville-20130427-00581_zps713dbaac.jpg
 
Nice cleaning session.

Now what the :censored: was the P.O thinking cutting holes in the bellhousing? Maybe to let the oil from that blown rear main seal out more efficently? :confused:
 
Nice cleaning session.

Now what the :censored: was the P.O thinking cutting holes in the bellhousing? Maybe to let the oil from that blown rear main seal out more efficently? :confused:
You are probably right but you would think it would have been just as easy to fix the leak.
 
Sorry it has been so long since I posted but work has been unforgiving to say the least....

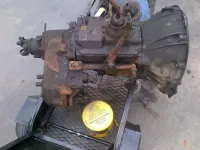
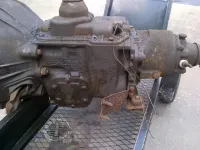
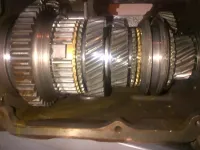
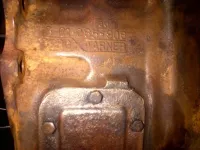
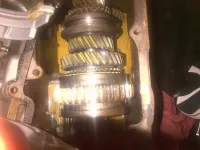
Well as break down begins on the new T-18 Tranny I got I popped it open to take a look.... Yellow oil for the win....

From what I am seeing is this a T-18 -A? I have heard so many differant gear counts .. etc.. it is hard for me to know. It was from a 1979 CJ7 and it has reverse down to the right of 4th gear.

Jacksonville-20130529-00655_zpsfe2257a0.jpg
Jacksonville-20130529-00656_zpsbaa6f4af.jpg
Jacksonville-20130607-00672_zpsf7e3ca34.jpg
Jacksonville-20130607-00673_zpsca3da89b.jpg
Jacksonville-20130607-00674_zps8b7240ed.jpg
Jacksonville-20130607-00675_zpsbde624bf.jpg
 
Last edited:
I can't seem to find gasket kit so I guess I'll make em myself... haven't done that since I was a kid making ahead gasket from a shoe box for my snowmobile... too much aether for the win.

Anyways... time to strip all the rust ....

Jacksonville-20130616-00692_zps21680cf3.jpg

Jacksonville-20130616-00691_zps6189919a.jpg

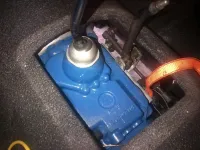
Heavy blue engine high temp paint.... looking pretty......

Jacksonville-20130616-00693_zps7483ecbe.jpg
 
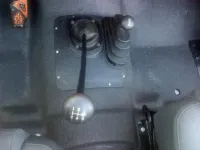
just a few cool pics... notice the center console... I just bought it and haven't even got back to the house to install it.... figured I would wait til AFTER the tranny swap :)

Jacksonville-20130519-00630_zpsc9a13f8e.jpg
Jacksonville-20130519-00631_zps1b71fe60.jpg


Then one more trip to the beach before I tear out the old Tranny.....

Jacksonville-20130526-00650_zpsb9afdb1a.jpg
 
Well.. the day has come... the new T18A is ready and the old grind-o-matic is ready to come out....

Jacksonville-20130630-00706_zps025de03f.jpg


here is the old one waiting to come out....

Jacksonville-20130629-00703_zpsf24f17a1.jpg

Jacksonville-20130629-00702_zps8eefab2b.jpg


Jacksonville-20130629-00704_zps860420f5.jpg
 
A small word of advice when doing a T-18 swap... remember you need the linkage from the T-18 Transfer Case if you aren't going to swap them out. Also... you have to put the linkage on the Transfer Case before mounting it on the Transmission as the clearance to get the linkages shaft is "hammer" tight if you know what I mean. I used this website as a guide that someone else had posted... Swapping a CJ T-18 into a CJ ...but the drive shaft lengths for the rear don't seem to be correct or I am measuring them wrong.

One other sweet spot is if you need to change the U-joint a 3/4 deep well impact socket makes a great punch for getting em out :)

IMG-20130706-00710_zpsad37e1d6.jpg

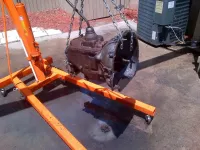
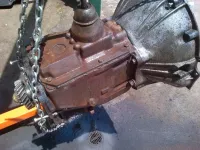
Some more advice I can give.. the T-18 is so damn heavy and round on the bottom it is really tough to center on a jack... As you can see I used a tie down strap from my roll cage down through the access under the Transfer Case . This allowed me to pendulum the tranny / Transfer Case while just putting a jack under the front. In the end I got it level.. and just swung it right in with a simple click and all was good in the world!

Took it on a test drive... awesome. One thing I did notice that I was unaware of is my reverse is geared alot lower than before with the T-150 .

Jacksonville-20130706-00715_zps8a9c008c.jpg
 
couple other things I did the other day... I recessed the gas filler and added some light protectors.

Before....

Jacksonville-20130519-00631_zps1b71fe60.jpg


After....

Jacksonville-20130706-00712_zps91afad93.jpg
 
you should do a write up on what you used to recess the fuel filler!

I did on mine as well, but used junk yard stuff from a suburban i believe, and had to cut and re weld up a few things. I have my filler neck on the side of the CJ though.

:chug:
~ Jr
 
I can't seem to find gasket kit so I guess I'll make em myself... haven't done that since I was a kid making ahead gasket from a shoe box for my snowmobile... too much aether for the win.

Anyways... time to strip all the rust ....

Jacksonville-20130616-00692_zps21680cf3.jpg

Jacksonville-20130616-00691_zps6189919a.jpg

Heavy blue engine high temp paint.... looking pretty......

Jacksonville-20130616-00693_zps7483ecbe.jpg

Looks great. What did you do to clean it up and prep for paint? Wire wheel?
 
Looks great. What did you do to clean it up and prep for paint? Wire wheel?

yeah man... wire wheel on a air grinder. Swear I took about 1000 of them little wires to the face. Remember kids to where your safety goggles :) No kidding they was flying everywhere hahaha. But I was also running alot more RPM's than I should have on the air grinder I bet. One other thing I used just to do it 100% was my Dremel tool to get in all the corners.

Reality is how much time you think it is worth. To me, I have done a ground up so my jeep looks pretty good underneath, other wise I don't know if I had been so particular.

One thing I do know... @ 95 degrees in the Florida sun it takes alot of patience and water :)
 

Jeep-CJ Donation Drive

Help support Jeep-CJ.com by making a contribution.

Help support Jeep-CJ.com by making a contribution.
Goal
$200.00
Earned
$25.00
This donation drive ends in
Back
Top Bottom