Build Thread 1979 CJ7 in remarkable condition!
-
Hello Guest, we are proud to now have our Wiki online that is completely compiled and written by our members. Feel free to browse our Jeep-CJ Wiki or click on any orange keyword when looking at posts in the forum.
You are using an out of date browser. It may not display this or other websites correctly.
You should upgrade or use an alternative browser.
You should upgrade or use an alternative browser.
Build Thread 1979 CJ7 in remarkable condition!
- Thread starter Alec79CJ
- Start date Start date:
- Last post Last post:
Build Thread 1979 CJ7 in remarkable condition!
- Posts
- 12,369
- Featured
- 3
- Media
- 71
- Resources
- 2
- Thanks
- 278
- Location
- Rockwall,TX
- Vehicle(s)
- 1983 cj7, 1971 Dart, 1942 Willys slat grill
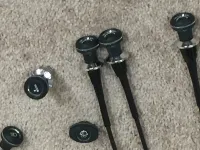
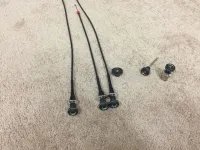
Those look really nice I really like the extra trim ring on the inside of the buttons
Sent from my iPhone using Tapatalk
Sent from my iPhone using Tapatalk
Alec79CJ
Active Jeeper
I've had some issues with wiring. Mainly dash and tail/parking lights.
I thoroughly went through every circuit and checked every ground.
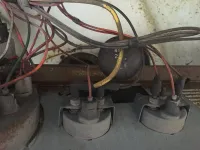
For some reason when I had the wiring harness out of the Jeep I missed this on the fuse box...


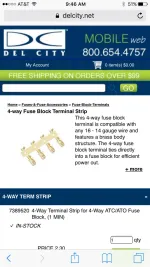
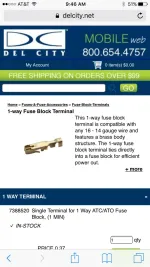
I've ordered up new terminals for the fuse panel and speciality tool to crimp those terminal ends.
I'm going to redo the entire panel. I'll post up photos as I go because I haven't seen any detailed photos of this process.
I thoroughly went through every circuit and checked every ground.
For some reason when I had the wiring harness out of the Jeep I missed this on the fuse box...
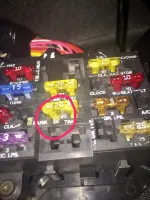
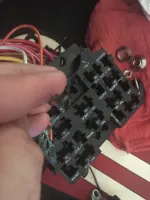
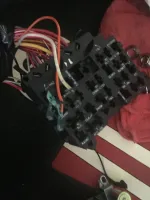
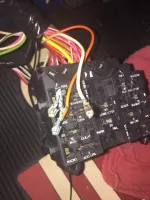
I've ordered up new terminals for the fuse panel and speciality tool to crimp those terminal ends.
I'm going to redo the entire panel. I'll post up photos as I go because I haven't seen any detailed photos of this process.
Alec79CJ
Active Jeeper
- Posts
- 7,316
- Media
- 5
- Solutions
- 1
- Thanks
- 157
- Location
- Roanoke, Va
- Vehicle(s)
- '80 CJ-7, AMC 304, T177, Dana 300, Widetrack axles (D30 & AMC20) w/ 3.73 gearing, MSD ignition,
Nice catch!!
Where did you order these from? That would be good info, especially since I'm electronics illiterate........
.....I've ordered up new terminals for the fuse panel and speciality tool to crimp those terminal ends.
Where did you order these from? That would be good info, especially since I'm electronics illiterate........
Alec79CJ
Active Jeeper
- Posts
- 7,316
- Media
- 5
- Solutions
- 1
- Thanks
- 157
- Location
- Roanoke, Va
- Vehicle(s)
- '80 CJ-7, AMC 304, T177, Dana 300, Widetrack axles (D30 & AMC20) w/ 3.73 gearing, MSD ignition,
THANKY!!!!
Sent from my gas grille using Tapatalk
Sent from my gas grille using Tapatalk
- Posts
- 12,369
- Featured
- 3
- Media
- 71
- Resources
- 2
- Thanks
- 278
- Location
- Rockwall,TX
- Vehicle(s)
- 1983 cj7, 1971 Dart, 1942 Willys slat grill
Imgbb is a place I found to host some photos.
It's not as friendly as Photobucket. That sure is a bummer that they broke all the old links if you didn't pay.
You in Florida?
Sent from my iPhone using Tapatalk
Alec79CJ
Active Jeeper
You in Florida?
Sent from my iPhone using Tapatalk
I am in Florida. St Augustine actually. It's about 30 minutes south of Jacksonville and about an hour north of Daytona beach.
- Posts
- 12,369
- Featured
- 3
- Media
- 71
- Resources
- 2
- Thanks
- 278
- Location
- Rockwall,TX
- Vehicle(s)
- 1983 cj7, 1971 Dart, 1942 Willys slat grill
I am in Florida. St Augustine actually. It's about 30 minutes south of Jacksonville and about an hour north of Daytona beach.
Wow dude we have family riding it out in okeechobee fl. I will be praying for you all, hunker down and be safe.
Sent from my iPhone using Tapatalk
Last edited:
Alec79CJ
Active Jeeper
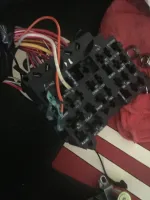
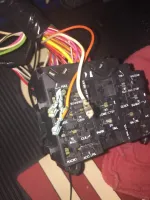
I've been working out some bugs in the electrical system.
I haven't had any tailights, dash lights, parking lights or wipers. After verifying good grounds all over the Jeep, I started digging deeper.
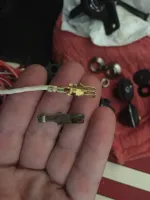
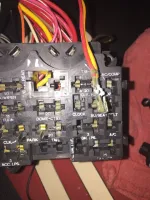
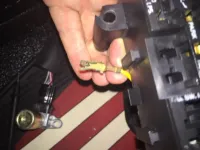
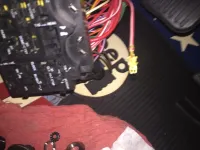
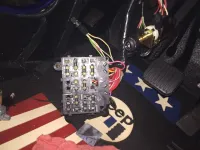
You'll see in the pictures below that I had terminals broken inside the fuse box. Even though I went through the harness, I honestly didn't think toncheck terminals closely.
You'll see several were snapped not allowing the fuse constant contact on both sides of the circuit.
These terminals are literally pennies to buy but it is time consuming, and if you don't own the correct crimping tool then you factor that into the repair too.
- Posts
- 7,316
- Media
- 5
- Solutions
- 1
- Thanks
- 157
- Location
- Roanoke, Va
- Vehicle(s)
- '80 CJ-7, AMC 304, T177, Dana 300, Widetrack axles (D30 & AMC20) w/ 3.73 gearing, MSD ignition,
Very nice - it's posts like this that make the rest of us that much smarter. I hope I never have to put this one in play but it's great information to have.
Sent from my gas grille using Tapatalk
Sent from my gas grille using Tapatalk
Alec79CJ
Active Jeeper
Very nice - it's posts like this that make the rest of us that much smarter. I hope I never have to put this one in play but it's great information to have.
Sent from my gas grille using Tapatalk
It wasn't all that difficult even with the harness already in the Jeep. If you remove the headlight switch, you can lower the entire fuse box down as pictured.
It took me about 2 hours working slowly and carefully to redo the entire thing.
And to add, it's cheap too. The terminals are 13 cents a piece for the single ones and 23 cents for the group terminals. The correct crimper will get you a bit. I got one off of amazon for $50.
Alec79CJ
Active Jeeper
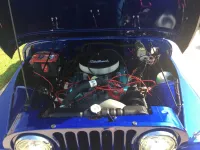
I'm still chasing a few electrical issues but the overwhelming majority were fixed with the fuse panel rebuild.
My gas gauge is bad so I'm searching for an NOS gauge but I've also spoke with Instrument Services in Illinois. They do fantastic rebuild work of factory gauges and clusters for all models of restorations. Plus they only charge $69 for small gauges such as the temp and fuel gauge.
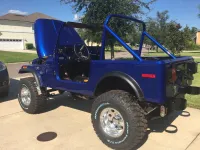
Anyway, flares are on, all dash lights and interior lights work, headlights, tail lights, reverse lights, and wipers all work. Even the washer pump and blower motor work.
I'm about to order seats but the seatbelts are on hold while I'll find an original rear set for 76-79 models.
For now though...

Alec79CJ
Active Jeeper
Since photobucket has broken all the links for the beginning of my build, I'm going repost the pictures a bit at a time.
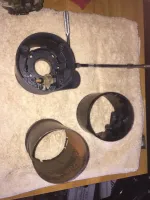
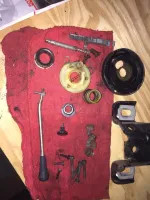
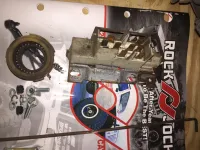
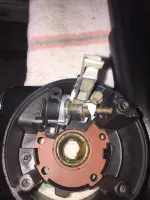
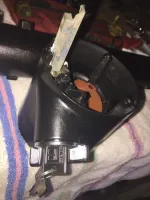
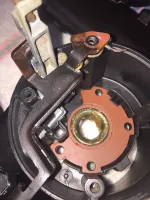
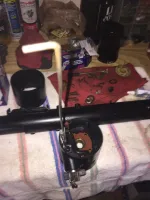
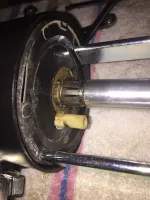
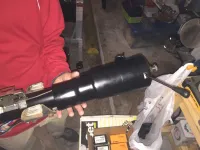
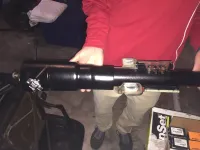
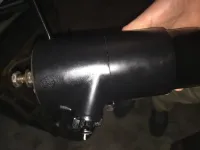
Here are the shots of the steering column build. This was a complete dismantle and thorough clean and repainted of all parts.
I used Eastwoods Plastic dye and their chassis paint on all steel parts.


Here are the shots of the steering column build. This was a complete dismantle and thorough clean and repainted of all parts.
I used Eastwoods Plastic dye and their chassis paint on all steel parts.

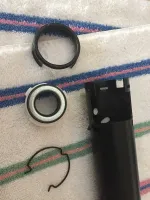
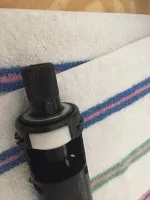
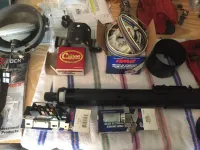
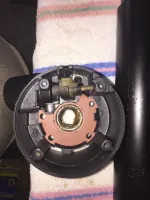
Alec79CJ
Active Jeeper
Another repost of a previous post.
I used simple green cleaner to clean the entire harness both underdash, under hood, and the rear tail light section.
I mixed a 50/50 simple green and water. I soaked the entire thing on the bucket using a soft bristled brush to clean away 40 years of dirt, dust, and grime.


I used simple green cleaner to clean the entire harness both underdash, under hood, and the rear tail light section.
I mixed a 50/50 simple green and water. I soaked the entire thing on the bucket using a soft bristled brush to clean away 40 years of dirt, dust, and grime.
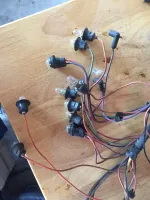
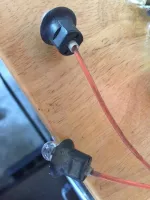
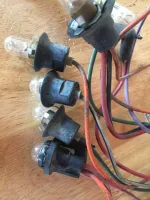
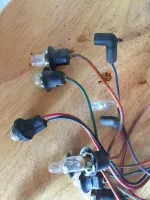

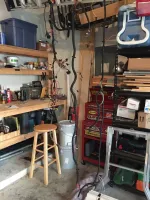
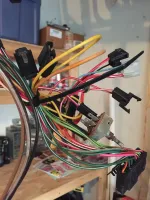
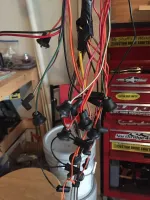
Alec79CJ
Active Jeeper
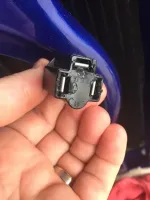
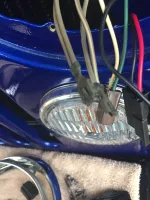
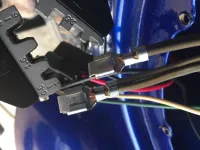
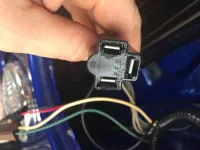
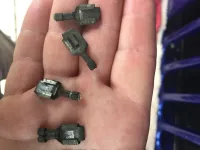
A little more electrical troubleshooting led me to corroded ground wires. The wires were corroded causing a high resistance.
Since I put a new ground wire in for the headlight, I figured I'd replace the terminal ends for all the headlight wires and then reinstall them into the plug.
I'm going to put new ends on the front parking light/turn signals too


Since I put a new ground wire in for the headlight, I figured I'd replace the terminal ends for all the headlight wires and then reinstall them into the plug.
I'm going to put new ends on the front parking light/turn signals too
- Posts
- 12,369
- Featured
- 3
- Media
- 71
- Resources
- 2
- Thanks
- 278
- Location
- Rockwall,TX
- Vehicle(s)
- 1983 cj7, 1971 Dart, 1942 Willys slat grill
very nice work
Alec79CJ
Active Jeeper
- Posts
- 7,316
- Media
- 5
- Solutions
- 1
- Thanks
- 157
- Location
- Roanoke, Va
- Vehicle(s)
- '80 CJ-7, AMC 304, T177, Dana 300, Widetrack axles (D30 & AMC20) w/ 3.73 gearing, MSD ignition,
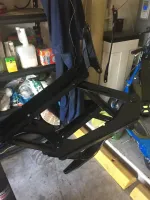
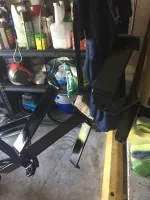
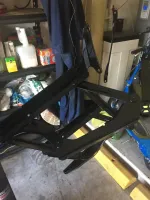
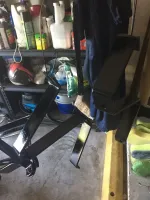
The brackets look VERY nice!!
I am VERY anxious to see how much higher the Moab's are compared to what you had. Corbeau told me the seat adds a couple inches. I haven't set the height of the seat brackets yet - PERFECT timing. That is, of course, if you're willing to share a couple dimensions LOL.
Sent from my iPad using Tapatalk
Similar threads
Build Thread
1983 CJ7 Build Project
- Replies
- 11
- Views
- 167
- Replies
- 17
- Views
- 1,172
Build Thread
76' CJ7 Cheap Build (kind of)
- Replies
- 6
- Views
- 1,060
Build Thread
1985 CJ7 coming apart ---
- Replies
- 14
- Views
- 1,906
Jeep-CJ Donation Drive
Help support Jeep-CJ.com by making a contribution.
Help support Jeep-CJ.com by making a contribution.
Goal
$200.00
Earned
$0.00
This donation drive ends in
0 hours,
0 minutes,
0 seconds
0.0%

