• Hello Guest, we are proud to now have our Wiki online that is completely compiled and written by our members. Feel free to browse our Jeep-CJ Wiki or click on any orange keyword when looking at posts in the forum.

Build Thread '79 CJ7 Frame Off Restoration

Build Thread '79 CJ7 Frame Off Restoration

jdcxyz

Jeeper
Posts
57
Thanks
0
Location
Fredericksburg VA
Vehicle(s)
'79 CJ7 AMC 304, '70 Chevelle SS 454
Hi there folks, newbie here. Just wanted to share a very fun and challenging project I've taken on....

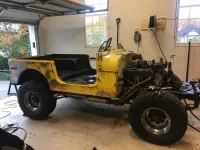
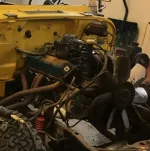
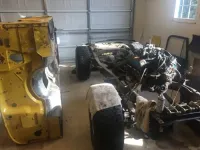
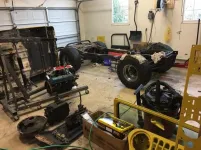
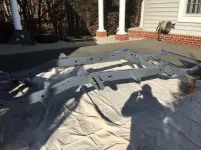
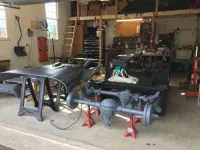
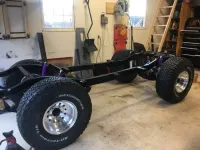
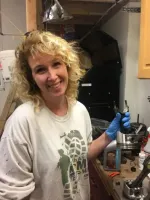
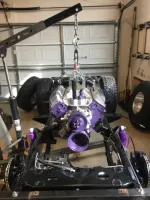
Purchased my first CJ this past September, I've wanted one for over 30 years! She was in decent shape, good frame, good mechanically, needed LOTS of cosmetic work, and the tub was shot. I've never restored ANY type of vehicle before and have never built an engine. I'm a woodworker, handyman, and a tinkerer. I can fix pretty much anything and have more tools than I know what to do with, but this was new territory for me! So I tore this old beauty apart, and have been pleased with my progress so far. Have taught myself to weld, and even forced myself to do bodywork. Got myself a sandblaster and it has been a lifesaver! Even got my cute little girlfriend in on this project. I'm sure I'll encounter problems as this progresses, but I am having a blast and am looking forward to getting this old girl on the road.

Next step is topcoat and clearcoat. Then the tub goes on and the wiring begins. Easy part is over!

More to follow!

Picture1.webp

Picture2.webp

Picture3.webp

Picture4.webp

Picture5.webp
 
aw man thats sweet bring on the Jeep pictures
 
I love those wheels. I have been going back and forth about keeping the stock wagon wheels or going with something like those.
 
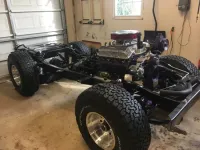
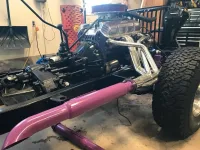
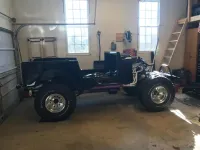
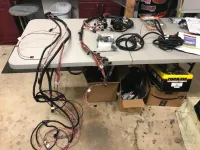
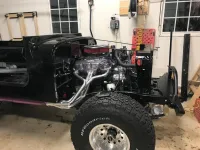
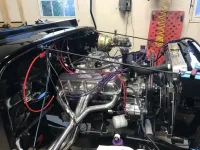
Well it has been a long time since I've posted an update on this, I spend a great deal of my time overseas so I work on it when I can. I can honestly say that I've not ran into any major problems so far, BUT she's not on the road yet and I've not started the motor yet. That's going to be in a few weeks. Everything has gone together pretty easily. The aftermarket tub went on well, only minor alignment problems with the fenders and such. I used a painless harness and it was a snap. Brake lines were a pain, I got pre bent tubes from classic tube, and I was not happy with them. I made them work, but they weren't that great. Spent the extra money and got Doug's ceramic coated headers, beautiful but the driver's side hangs lower than the passenger side. I actually had to get a 1' body lift to make them work. I would have expected better from $700 headers.

IMG_4573.webp

IMG_4600.webp

IMG_4602.webp

IMG_4604.webp

IMG_4622.webp
 
Wow dude I’m seriously impressed your Jeep and work is beautiful, and I’m definitely jealous of the height you have in your garage


Sent from my iPhone using Tapatalk
 
That’s a beauty for sure....and I too am jealous of the space you have...nice..
 
That’s a beauty for sure....and I too am jealous of the space you have...nice..

X3. Beautiful jeep and great garage !
 
Oh WOW!!!! That is one great looking Jeep!!!!
I cant wait to see the finished product and hope you make a video clip when you first fire it up. I bet its gonna sound awesome!!!
 
Thanks for the comments everyone, it's been a fun project, actually pretty proud of myself considering it's my first ever vehicle restoration. I do love my garage, nice and big, I have a detached three car garage with 16' ceilings, y'all would love it, but that's where my woodshop is. I'll definitely make a video of my first start, it's going to be in the next month, overseas in the desert right now but back this week!

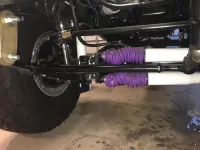
Still a few challenges, I have to make new brackets for my steering dampener, I got the rugged ridge heavy duty drag ling and tie rod setup and the ones I made won't clear the pumpkin when I turn the wheel from stop to stop. Might just ditch the dual setup and so with a single. Haven't checked caster angle yet, I used longer shackles than stock, but I'm hoping it didn't change things enough to cause major death wobble. Also, the tie rods come VERY close to the front leafs. Not sure what will happen under load and articulation.

No electrical issues so far, keeping my fingers crossed. Got 12V every place it's supposed to be on start and run.

IMG_4747.webp
 
Man, you're moving along quick with it! Impressive. It's so nice to be able to start putting it back together with fresh clean parts!
 
Thanks for the comments everyone, it's been a fun project, actually pretty proud of myself considering it's my first ever vehicle restoration. I do love my garage, nice and big, I have a detached three car garage with 16' ceilings, y'all would love it, but that's where my woodshop is. I'll definitely make a video of my first start, it's going to be in the next month, overseas in the desert right now but back this week!

Still a few challenges, I have to make new brackets for my steering dampener, I got the rugged ridge heavy duty drag ling and tie rod setup and the ones I made won't clear the pumpkin when I turn the wheel from stop to stop. Might just ditch the dual setup and so with a single. Haven't checked caster angle yet, I used longer shackles than stock, but I'm hoping it didn't change things enough to cause major death wobble. Also, the tie rods come VERY close to the front leafs. Not sure what will happen under load and articulation.

No electrical issues so far, keeping my fingers crossed. Got 12V every place it's supposed to be on start and run.

You should do a tie rod flip that will fix your clearance issue. Goferit Products!
 
You should do a tie rod flip that will fix your clearance issue. Goferit Products!

Thanks coldair, I was actually contemplating doing just that. So a stupid question, how difficult is it to drill the knuckle out to 3/4"? I can see myself fu@&ing it up and turning that into a $1K job. Is it something that you need a machine shop to do, or just jackstands, a 3/4" bit and some elbow grease?
 
Yes the drag link would also go on the top. As long as you can drill a hole you can do that kit. Pretty simple.
I didn't do the go fer it kit i went with this kit https://ok4wd.com/rock-equipment-tie-rod-flip-kit some people think this kit would be easy to mess up but its very simple.

9058C29F-F335-4ADD-8960-093E7CEFA48A.webp
 
Oh yes the pitman arm can go back to stock. Im running a drop pitman arm but plan on installing a stock one soon.
 
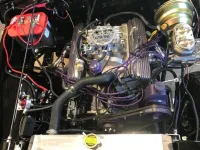
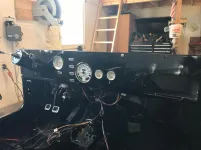
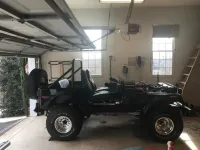
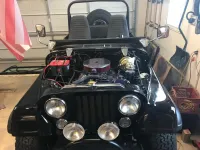
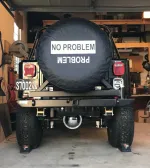
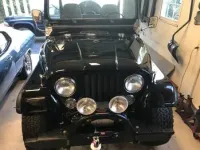
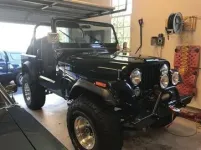
Well folks, after two years, lots of money, blood, sweat, tears, way too many F words, she is almost on the road. Engine started on the first try, and barely even had to mess with the timing. There's a little gear oil leaking out of my T-18 , should have replaced the seals. One of the few things I didn't do. Well, that's a project for another day. Only thing left to do is bleed the brakes when my new brake lines come in. Couldn't be happier with the way she turned out. My girlfriend giggles every time she starts her up. Have one minor problem that I can't sort out, the alternator gets really hot when the engine is running, and gets warm even when the engine is off. This is the second brand new alternator, and I've had them both tested. I've even replaced the battery twice, both Optima batteries. Not sure if I should unplug the exciter wire and see what happens. Still gotta sort that out. But she's a beaut!

IMG_6508.webp

IMG_6509.webp

IMG_6514.webp
 

Jeep-CJ Donation Drive

Help support Jeep-CJ.com by making a contribution.

Help support Jeep-CJ.com by making a contribution.
Goal
$200.00
Earned
$0.00
This donation drive ends in
0 hours, 0 minutes, 0 seconds
  0.0%
Back
Top Bottom