Another Twin Stick Install
Reddrig
Jeeper
- Posts
- 141
- Thanks
- 5
- Location
- Ca
- Vehicle(s)
- 1972 Jeep CJ5 304 T15 Dana 20 Holly Carb
Dana 44 rear
Dana 30 front 4.27 stock gears
Front and rear power disc brakes
35" Mickey Thompson tires with Mickey Thompson 17" wheels
Rhino lined tub with custom tool box
Rugged Ridge ORV 4" lift, 1.5 BL
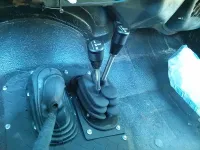
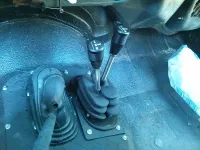
Ordered up my JB Custom Twin Stick the other day. Went with JB after researching others and what might work best for my application. Top shelf product that cam with everything you need for install. My set up is a Dana 20 with a T-15 . Ordered the shorty version from JB site, fit was perfect. Length was also perfect. Here's a little recap of the job.
1
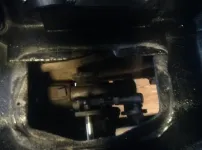
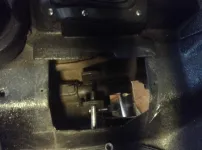
Opened up cover and went to work. Pic of old linkage.

2
Started removing old linkage. I know it was going in the trash, so I was not careful.


3
What's left of the old linkage

4
Needed to cut off old crank pivot bolt. U can see the shiny spot after I took a grinder to it.

5
Test fit of the new shifters. Perfect fit with no other bending required.

6
Underneath shot of the test fit.

7
Had to put the knobs on for a quick look.


8
Cut my new cover from diamond plate. The cover with the sticks is way to small for the hole. I knew this from previous research.

9
I used plastic dip black to paint the cover. I love plastic dip, durable easy to cover up mistakes and can always be removed late. I've used it with great success on other parts. Marked and drilled all the holes in cover and floor. I went a little wild with the holes, but its not going anywhere.

10
Mounted and bent the diamond plate to match the angle on the floor. Used a clamp and the edge of a counter top for the bend. Just bent a little a time until the bend matched.

11
Mounted the supplied boot and ring to my cover. Drilled four holes that were per drilled in the ring.

12
Painted the etching in the knobs to make it a little more visible

13
Knobs installed.


All in all a fairly simple project that requires a little fab work. Shifters are so much easier moving than my old stock set up. I have not removed the pills in the tranny at this point. After rebuilding the tranny, I may remove the pills to allow fully independent front and rear. I might plastic dip the bolts also to make it all black, not sure yet.
1
Opened up cover and went to work. Pic of old linkage.

2
Started removing old linkage. I know it was going in the trash, so I was not careful.
3
What's left of the old linkage
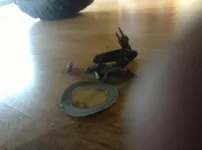
4
Needed to cut off old crank pivot bolt. U can see the shiny spot after I took a grinder to it.
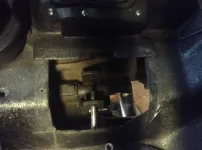
5
Test fit of the new shifters. Perfect fit with no other bending required.
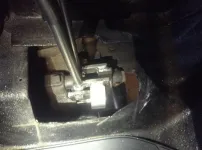
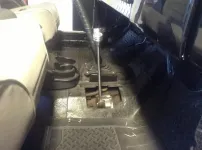
6
Underneath shot of the test fit.
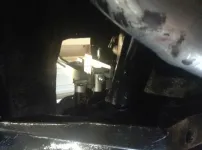
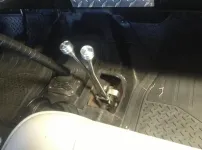
7
Had to put the knobs on for a quick look.
8
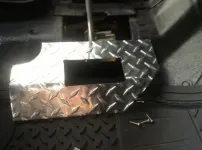
Cut my new cover from diamond plate. The cover with the sticks is way to small for the hole. I knew this from previous research.
9
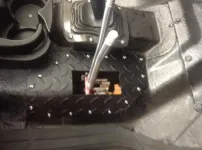
I used plastic dip black to paint the cover. I love plastic dip, durable easy to cover up mistakes and can always be removed late. I've used it with great success on other parts. Marked and drilled all the holes in cover and floor. I went a little wild with the holes, but its not going anywhere.

10
Mounted and bent the diamond plate to match the angle on the floor. Used a clamp and the edge of a counter top for the bend. Just bent a little a time until the bend matched.
11
Mounted the supplied boot and ring to my cover. Drilled four holes that were per drilled in the ring.

12
Painted the etching in the knobs to make it a little more visible
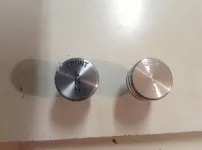
13
Knobs installed.
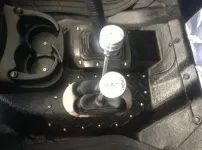
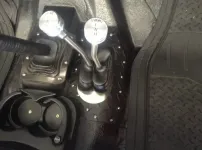
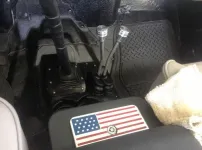
All in all a fairly simple project that requires a little fab work. Shifters are so much easier moving than my old stock set up. I have not removed the pills in the tranny at this point. After rebuilding the tranny, I may remove the pills to allow fully independent front and rear. I might plastic dip the bolts also to make it all black, not sure yet.
Last edited:

