JB Fabrication Aux. Idle Install (New Thread)
Hedgehog
Always Off-Roading Jeeper
- Posts
- 9,370
- Thanks
- 4
- Location
- Tucson/Marana Arizona
- Vehicle(s)
- -1975 Jeep CJ5, 360 V8, Headers, Duel Exhaust,T15 transmission, D-20 Transfer case, Twin Stick Conversion, Warn 8274 Winch
-1951 Willys Wagon, 4 cylinder, "F" head, little rust, very close to stock
So, here's how I installed my JB Fab. Aux. Idle.
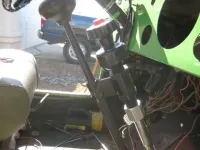
This is a picture of the control knob installed on my shifter. I like the location a lot. The shift adaptor didn't come stock and had to be ordered. When it arrived the sleeve that goes on the shift stalk was big and nasty with a set screw that you know wasn't going to hold for long. The sleeve looked like a the arm of a skinny clown sticking out of a fat clown suit. So, I cut off the sleeve and found a nut coupler of the right size and welded it on the adaptor. Then, and some won't like this, I threaded the shift stalk to accept the nut coupler. The control was timed or threaded to be tight at the angle I wanted to work with. Then Set screws were tapped in to hold things in place. This turned out to be a nice clean install.

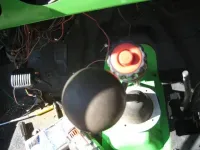
Looking down on the Idle Control knob.

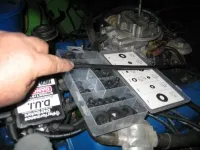
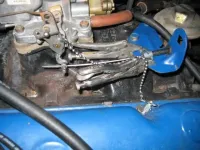
Under the hood. I did not get pictures of the throttle bracket in place. In this picture I am holding the Idle cable, it's a long cable indeed. The right size grommet came from the box.

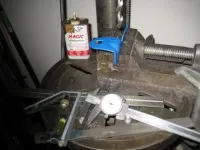
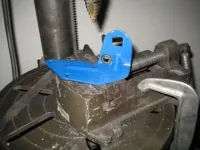
Getting ready to drill the cable hole in the throttle bracket. This thing is harder metal than you'd expect.

The hole was drilled, cleaned up, and the grommet was added. Additional smaller holes were added for the clamp and #10 Allen head screws.

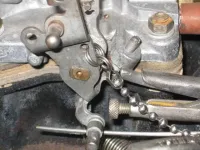
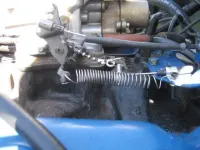
A close up of the Idle attachment. A tiny key ring and a BIG bead chain at the throttle end keeps things loose when the Idle isn't being used. The Idle cable wire is near the bottom. It needs to be cut again. I cut short lengths off until the right length was found.

This is a picture of the control knob installed on my shifter. I like the location a lot. The shift adaptor didn't come stock and had to be ordered. When it arrived the sleeve that goes on the shift stalk was big and nasty with a set screw that you know wasn't going to hold for long. The sleeve looked like a the arm of a skinny clown sticking out of a fat clown suit. So, I cut off the sleeve and found a nut coupler of the right size and welded it on the adaptor. Then, and some won't like this, I threaded the shift stalk to accept the nut coupler. The control was timed or threaded to be tight at the angle I wanted to work with. Then Set screws were tapped in to hold things in place. This turned out to be a nice clean install.
Looking down on the Idle Control knob.
Under the hood. I did not get pictures of the throttle bracket in place. In this picture I am holding the Idle cable, it's a long cable indeed. The right size grommet came from the box.
Getting ready to drill the cable hole in the throttle bracket. This thing is harder metal than you'd expect.
The hole was drilled, cleaned up, and the grommet was added. Additional smaller holes were added for the clamp and #10 Allen head screws.
A close up of the Idle attachment. A tiny key ring and a BIG bead chain at the throttle end keeps things loose when the Idle isn't being used. The Idle cable wire is near the bottom. It needs to be cut again. I cut short lengths off until the right length was found.



 Rod
Rod