• Hello Guest, we are proud to now have our Wiki online that is completely compiled and written by our members. Feel free to browse our Jeep-CJ Wiki or click on any orange keyword when looking at posts in the forum.
    To dismiss this notice
    click the top right X.

Build Thread 1986 CJ7 Build

Build Thread 1986 CJ7 Build
Nice pictures !
 
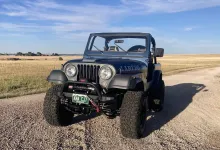
Last day in the mtns. Wife drove most of today.
Rear locker seems fine. Visited with an old friend last night during the raffle giveaway (4x4 shop owner where I worked through college) and he said the new Detroit Soft Lockers don’t have the same tooth depth for engagement and when you back up a few feet, then go forward, they have a hard time engaging. Who knows?


View attachment 1000009720.mov
 
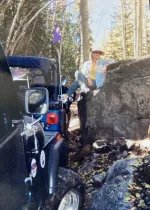
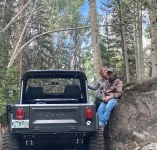
I think it was about 1997 on a run of the Iron Chest Mine Trail in the fall, mom stepped out of their CJ5 onto a big boulder and we called it her perch.
It was really special for us to find that same boulder, this many years past, when we ran that trail again this summer. Very emotional, since mom's recent passing this May. But, very cool at the same time. Jeepers keep rolling...

Judi 2.webp


KnA Iron Chest.webp
 
IMG_7594.webpIMG_7590.webpIMG_7597.webpAug 22, 24:
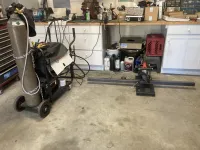
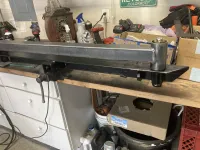
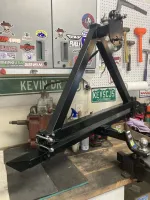
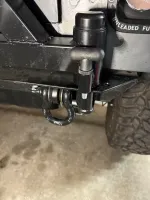
-Working on a swing out spare tire carrier.
Fabrication is done, just need to add reinforcement frame tie-in brackets at rear frame ends and crossmember. Will bolt and weld in place. Turned out pretty nice.
 
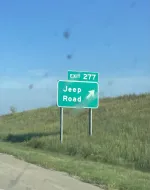
Dropped our youngest off at University of Kansas this weekend. The “Jeep Road” exit is about half way there…


IMG_7603.webp
 
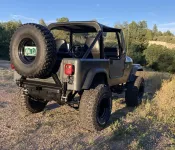
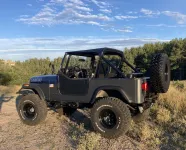
Mounted spare tire carrier and took Jeep for a test ride this evening to see how solid it is. Pretty dang impressed!
Built it to sit a bit high and close to tailgate for good clearance at the rear.
IMG_7621.webpIMG_7623.webp
 
9-1-24:
-Decided to mount the winch I bought a while ago. Trimmed it down, welded-in unused holes and drilled new holes in the “Universal” channel I had. Bought some new grade-8 hardware too.
Afternoon install and it looks good!
IMG_7651.webp
 
Jan 1, 25:
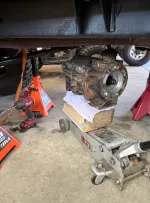
-Ordered parts and pieces from Novak Adapters. Will begin the NP435 rebuild once the shipment arrives.
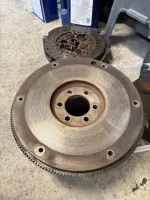
-Has me thinking about replacing the clutch while I’m replacing the Transmission . Might as well.
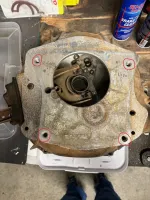
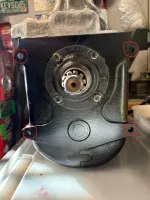
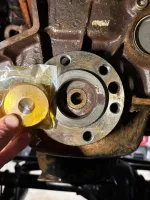
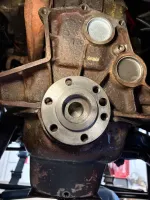
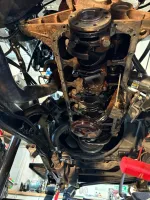
-Also, might as well replace the rear main seal too, along with the oil pan gasket. Seeps a bit now.
-Over Christmas I welded on a spring-loaded pin to the hub on the spare tire swing out. Secures it fine now in the out position.
IMG_8005.webp
 
  • Thanks for the Post!
Reactions: CJ
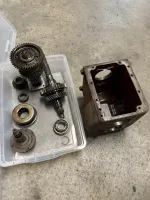
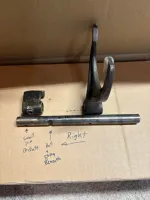
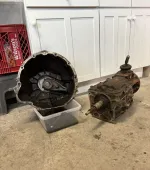
-Disassembled the Transmission this evening. Fairly easy and looks like the components are in good shape. One tooth is a bit chipped on the small gear on the counter shaft, that’s about all I could find. Bearings look great and the 3-4 synchro is perfect.
I believe a good cleaning, new gaskets/seals and fork shoes will be all that’s needed.
-The Novak output shaft should be here in a couple days and I’ll have to swap that bearing over.
IMG_8014.webp
 
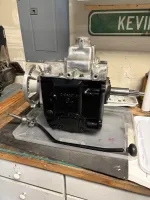
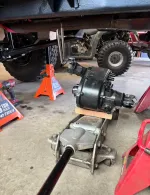
I’m putting back together the NP435 with a Novak adapter for a Dana 300 Transfer Case.

I’m setting the end play for the input shaft and it seems either too tight with 1 gasket, or maybe too sloppy side to side with 2 gaskets under the flange. Novak paperwork leaves a lot to be desired. I realize that the new pilot bushing should stabilize everything when assembled. But, to get my proper end play, I’m questioning the resultant side to side amount. Anyone have a spec on this? Or, don’t sweat it?

Moved the Transmission into the kitchen - too damn cold in the garage.
IMG_8038.webp
 
IMG_8040.webpIMG_8044.webpIMG_8047.webp-Got ahold of Novak today. They were great! I realize now that with their new main shaft installed, the tolerances are much tighter than Ford’s manual indicates, which I was referring to. Gert forwarded his Dodge manual and it’s closer to Novak. However, it helps now that I have all the disassembly and reassembly info from Novak - only had about half of it, which was very odd. Anyway, I need some additional synchronizer shims and more input bearing retainer gaskets/shims to re-set the 2 key settings. So, waiting on parts for that.

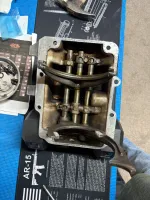
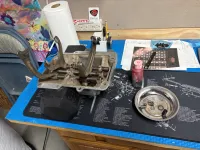
-I decided to work on the top cover shift rails. Worked on the basement bench because it’s still too cold in the garage. Removed everything, pics/cataloged as I went. Then, cleaned and reassembled with the new detent springs and balls, plungers and roll pins. I shimmed under the 1st /2nd gear detent ball spring with a little washer in the hole to give it a bit extra pressure to stay in gear. Didn’t grind/file any notches because they all looked great/low use.
Doubt there’s much over 75k miles on this Transmission .
 
Last edited:

Jeep-CJ Donation Drive

Help support Jeep-CJ.com by making a contribution.

Help support Jeep-CJ.com by making a contribution.
Goal
$200.00
Earned
$75.00
This donation drive ends in
0 hours, 0 minutes, 0 seconds
  37.5%
Back
Top Bottom