Build Thread My 1971 CJ5 Build Thread
hazzo1
Jeeper
Hello everyone! I've been poking around here since I bought my CJ. Just now getting around to making a thread though...
I picked up my Jeep about a year ago and it's in the midst of a complete "restomod" restoration.
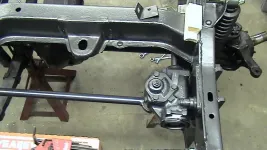
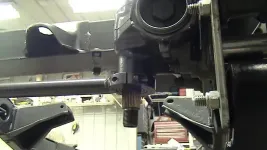
After getting everything sandblasted (the rednecks that I paid to do it for me gave me a headache when they decided that it would be a good idea to leave all of the bondo on it and tell me that I would just have to put it back in), I cleaned the frame and boxed it and applied rust inhibitor on the inside and out. I also mocked up the new bike chain style clutch linkage and changed the worm drive steering box to a modern Chevrolet box along with a modern Chevrolet tilt column.
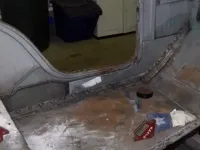
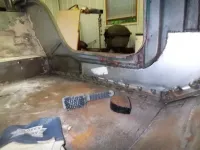
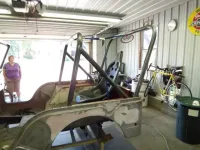
The condition of the body is okay. There are plenty of dents and crappy welds to correct but the good news is that the rust is very minimal. The majority of the bondo is along the bottom of the rocker panels. My guess is that after years of driving through the woods, trees and rocks have dented them in and whoever "restored" this thing years ago decided it would be easier to just smear bondo over it and sand it straight....That's not good enough for me.
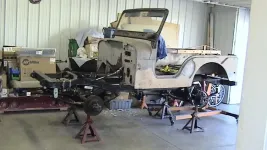
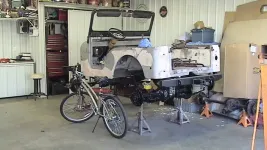
I'm going to keep the Dana 44 in the rear and throw a locker in it after it's taken apart to replace the bearings and seals...The D27A in the front was a piece of junk, so it has been replaced with a Dana 30 from a newer CJ5 ...Gotta have disc brakes. I was thinking about using 33" tires, but after seeing the frame with the body, springs, and axles all put together on jack stands, I may go for 35's. Just have to do some more measuring to see if I'll have any issues.
As for the engine, my friend who operates an engine shop refreshed the 225 Buick Dauntless Buick 225 V6 v6. I wanted to retain the factory engine, but definitely wanted to get more than the factory rated 150hp.I had it bored .030, with an Offenhauser aluminum 4bbl intake with a Holley Truck Avenger, and a small cam.
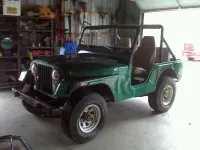
This is the only picture I have of the Jeep before I tore it down. I snapped it when my dad and I went to go pick it up.

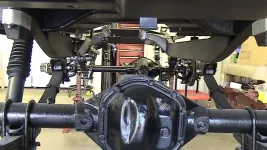
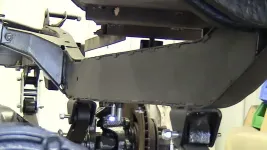
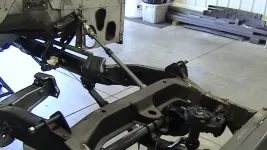
The suspension was only mocked up, but the pics show the 2" lift springs, and the 1 1/2' lift shackles...I added a 1" body lift just for poopies and giggles...


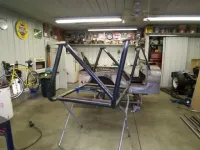
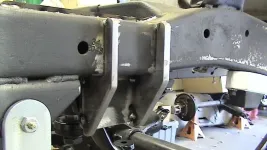
Boxed rails


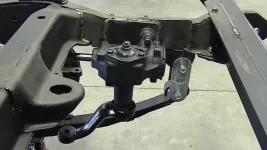
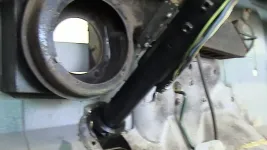
The Chevrolet steering conversion...It still needs to be welded in solid...


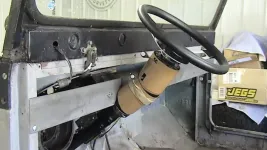
The tilt column mounted.

 [/QUOTE]
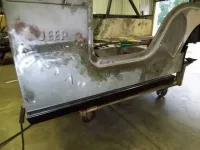
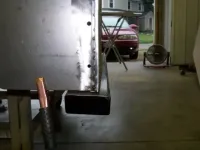
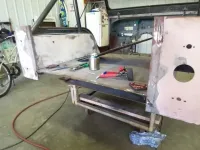
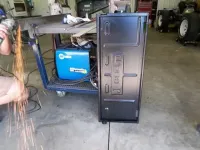
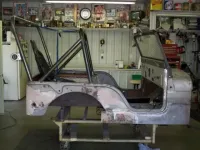
This cart makes it a lot easier to move the tub around during metal work and bodywork...My dad got it from his work....I guess they were throwing away or something...I just welded some square tube to the cart and the tub is bolted onto it using the body mounts...

Here is an update from around Christmas time...
The frame is painted. Both the frame and the body are going to be the same color. We picked a Gunmetal...It's a GM color.

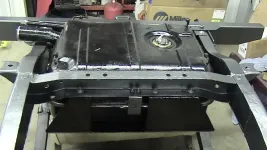
The gas tank, sending unit, and skid plate are all in.


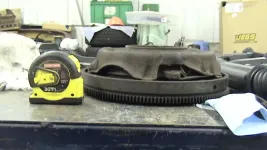
Here's the ridiculously large flywheel...It's like 50 something pounds...

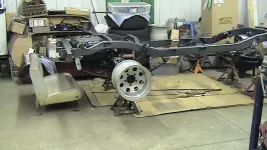
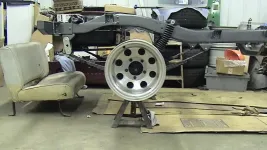
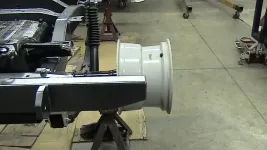
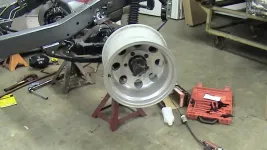
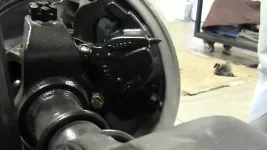
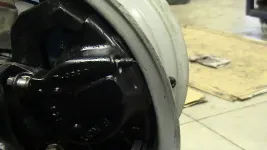
A quick test fit of the wheels we're going to use. 15" aluminum and there will be 12.5" wide tires mounted on them...The clearance to the caliper is pretty close...We got lucky with that...haha


The Chevrolet master cylinder is on with the linkage.


The brake lines are started...Almost done...


The steering box is on...Along with the extra bracing...lol

 [/QUOTE]

And finally, a test fit of the steel wheels and 31" tires that came on it. I'm going to drive on those while I order tires and refinish the other wheels.


The rear brake lines are done along with the breather lines.


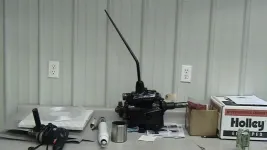
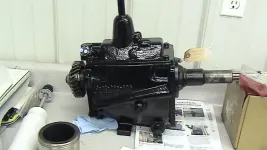
We completely disassembled the Transmission and checked everything for damage (luckily there wasn't any except for some light rust on the top edge of some pieces from sitting) and we replaced the syncros.

The case has been primed, painted, and cleared.


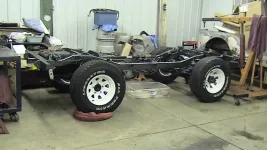
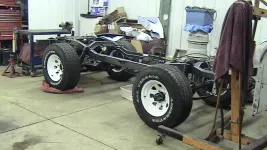
We had the opportunity to mount the wheels and put the chassis on the ground for the first time since we started. It's pretty exciting to see the progress that has been made and get an idea what the finished product will look like.


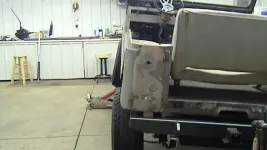
My dad and I put the body on the frame so that we can finish the parking brake, start the wiring harness (we need to know the lengths because we're making it from scratch), figure out where we want to mount the seats and make a frame for them, and just to see how it sits...lol


My dad found his way into my picture...

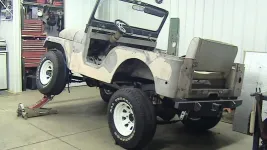
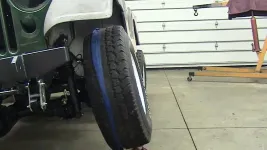
And then just for ***** and giggles, we used the jack and tried to flex the suspension out a bit...


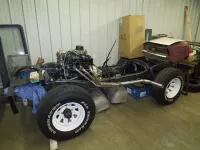
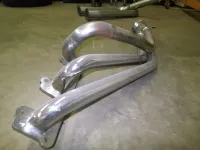
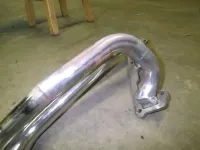
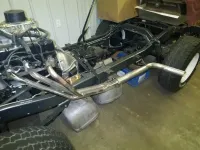
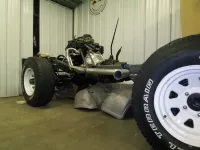
Here, everything on the frame is done and the wire harness is complete. The exhaust is also complete other than being sent off to be chromed.


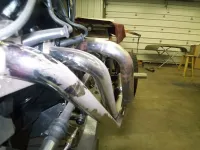
The header primary tube on the driver's side against the firewall was in the way of the steering shaft, so we had to cut it and work it around the shaft.


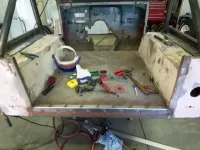
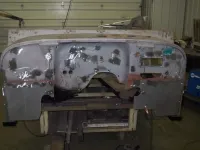
All of the unnecessary holes in the firewall have been filled.

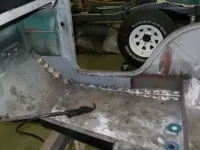
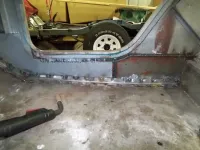
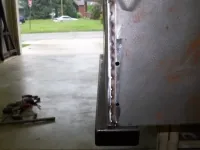
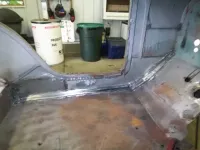
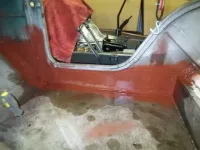
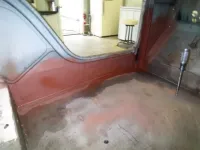
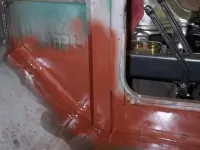
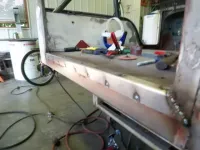
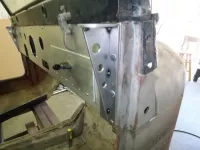
Brand new rocker panels have been welded in.


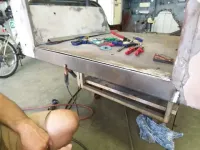
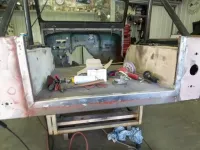
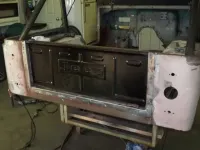
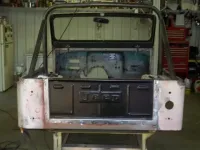
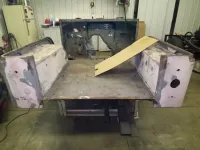
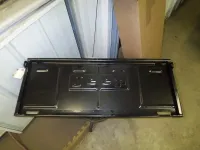
We're going to flush mount the tailgate into the tub...So we've started to remove material that we don't need. And we have a new tailgate to replaced the beat up original.


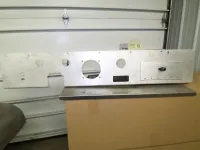
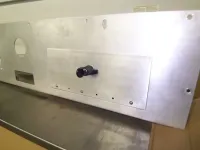
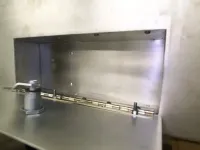
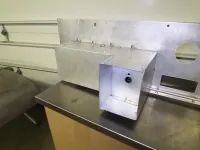
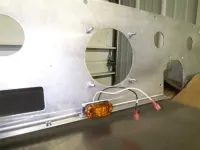
Our completed aluminum dash panel. It will have a brushed finish. The custom glove box can also be seen.


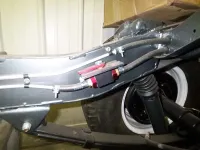
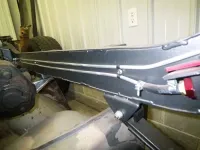
Fuel lines are done. We included a shut off valve for security.


This is everything up until now....I'll update as progress is made.
I picked up my Jeep about a year ago and it's in the midst of a complete "restomod" restoration.
After getting everything sandblasted (the rednecks that I paid to do it for me gave me a headache when they decided that it would be a good idea to leave all of the bondo on it and tell me that I would just have to put it back in), I cleaned the frame and boxed it and applied rust inhibitor on the inside and out. I also mocked up the new bike chain style clutch linkage and changed the worm drive steering box to a modern Chevrolet box along with a modern Chevrolet tilt column.
The condition of the body is okay. There are plenty of dents and crappy welds to correct but the good news is that the rust is very minimal. The majority of the bondo is along the bottom of the rocker panels. My guess is that after years of driving through the woods, trees and rocks have dented them in and whoever "restored" this thing years ago decided it would be easier to just smear bondo over it and sand it straight....That's not good enough for me.
I'm going to keep the Dana 44 in the rear and throw a locker in it after it's taken apart to replace the bearings and seals...The D27A in the front was a piece of junk, so it has been replaced with a Dana 30 from a newer CJ5 ...Gotta have disc brakes. I was thinking about using 33" tires, but after seeing the frame with the body, springs, and axles all put together on jack stands, I may go for 35's. Just have to do some more measuring to see if I'll have any issues.
As for the engine, my friend who operates an engine shop refreshed the 225 Buick Dauntless Buick 225 V6 v6. I wanted to retain the factory engine, but definitely wanted to get more than the factory rated 150hp.I had it bored .030, with an Offenhauser aluminum 4bbl intake with a Holley Truck Avenger, and a small cam.
This is the only picture I have of the Jeep before I tore it down. I snapped it when my dad and I went to go pick it up.
The suspension was only mocked up, but the pics show the 2" lift springs, and the 1 1/2' lift shackles...I added a 1" body lift just for poopies and giggles...
Boxed rails
The Chevrolet steering conversion...It still needs to be welded in solid...
The tilt column mounted.
 [/QUOTE]
This cart makes it a lot easier to move the tub around during metal work and bodywork...My dad got it from his work....I guess they were throwing away or something...I just welded some square tube to the cart and the tub is bolted onto it using the body mounts...
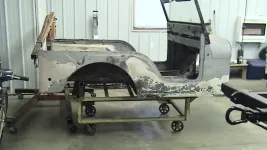
Here is an update from around Christmas time...
The frame is painted. Both the frame and the body are going to be the same color. We picked a Gunmetal...It's a GM color.
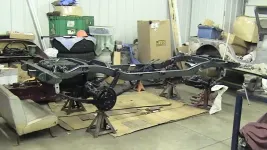
The gas tank, sending unit, and skid plate are all in.
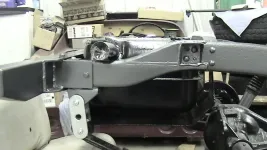
Here's the ridiculously large flywheel...It's like 50 something pounds...
A quick test fit of the wheels we're going to use. 15" aluminum and there will be 12.5" wide tires mounted on them...The clearance to the caliper is pretty close...We got lucky with that...haha
The Chevrolet master cylinder is on with the linkage.
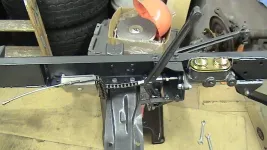
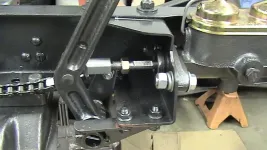
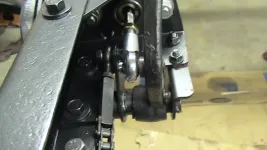
The brake lines are started...Almost done...
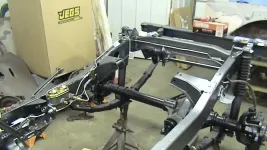
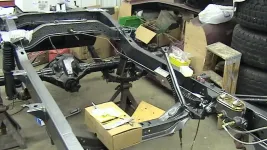
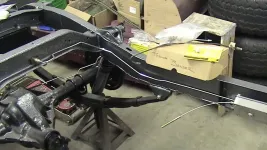
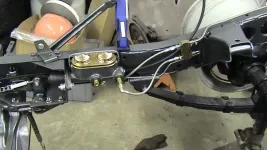
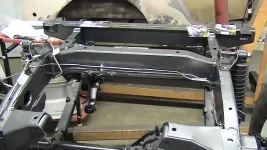
The steering box is on...Along with the extra bracing...lol
 [/QUOTE]
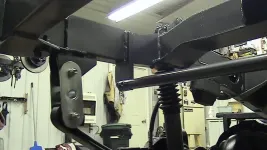
And finally, a test fit of the steel wheels and 31" tires that came on it. I'm going to drive on those while I order tires and refinish the other wheels.
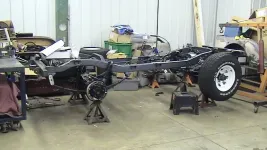
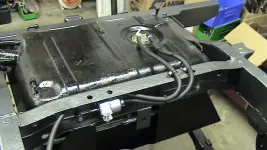
The rear brake lines are done along with the breather lines.
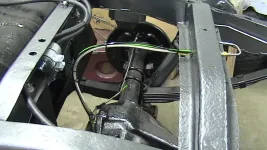
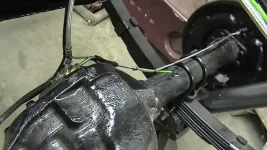
We completely disassembled the Transmission and checked everything for damage (luckily there wasn't any except for some light rust on the top edge of some pieces from sitting) and we replaced the syncros.
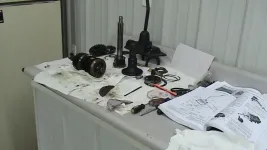
The case has been primed, painted, and cleared.
We had the opportunity to mount the wheels and put the chassis on the ground for the first time since we started. It's pretty exciting to see the progress that has been made and get an idea what the finished product will look like.
My dad and I put the body on the frame so that we can finish the parking brake, start the wiring harness (we need to know the lengths because we're making it from scratch), figure out where we want to mount the seats and make a frame for them, and just to see how it sits...lol
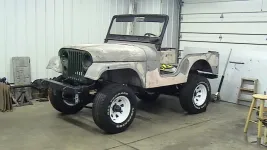
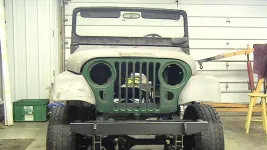
My dad found his way into my picture...
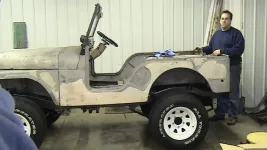
And then just for ***** and giggles, we used the jack and tried to flex the suspension out a bit...
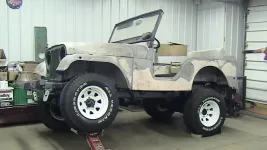
Here, everything on the frame is done and the wire harness is complete. The exhaust is also complete other than being sent off to be chromed.
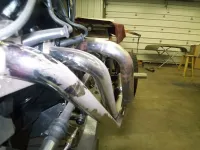
The header primary tube on the driver's side against the firewall was in the way of the steering shaft, so we had to cut it and work it around the shaft.
All of the unnecessary holes in the firewall have been filled.
Brand new rocker panels have been welded in.
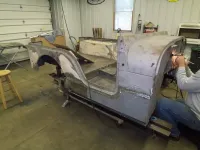
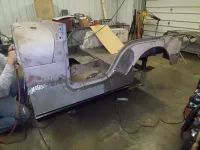
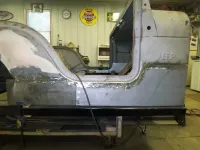
We're going to flush mount the tailgate into the tub...So we've started to remove material that we don't need. And we have a new tailgate to replaced the beat up original.
Our completed aluminum dash panel. It will have a brushed finish. The custom glove box can also be seen.
Fuel lines are done. We included a shut off valve for security.
This is everything up until now....I'll update as progress is made.


