• Hello Guest, we are proud to now have our Wiki online that is completely compiled and written by our members. Feel free to browse our Jeep-CJ Wiki or click on any orange keyword when looking at posts in the forum.
    To dismiss this notice
    click the top right X.

Build Thread The '80 FrankenJeep frame off reassembly

Build Thread The '80 FrankenJeep frame off reassembly
'Bout time for another picture of that rolling chassis! :)
 
Good thing I'm happy with small steps...... As for more pics - I am digging out of the garage as we speak. It's always been a catchall, so I'm cleaning some stuff up. I did just get the lugs for the spare cut to length, and mounted the spare (wheel only) just to get it out of my way.

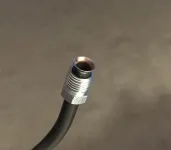
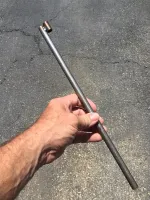
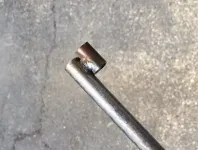
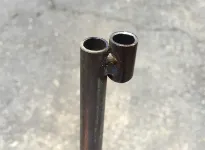
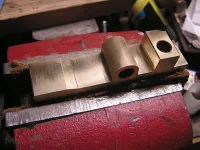
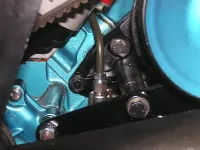
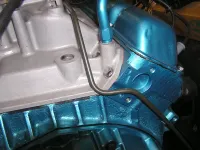
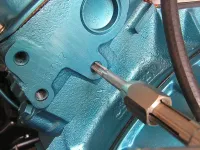
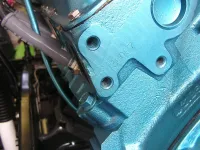
Oh - just remembered I forgot to show a couple pics of my dip stick insertion tool - LOL. Because I'm a cheap SOB, I refused to buy anything, so I dug out some round stock that just happened to have an ID that was just slightly larger than the OD of the dipstick mouth, cut a small piece off, welded it back onto the larger piece, smoothed up the inside so as not to do too much paint damage, slipped it over the end, squared it on the crimp at the bottom, and tapped it right in. Took me longer to make the dang thing than to use it...... Oh, well - at least it was free

WHVaJTm.png

u4WMq65.png

0zOB6ez.png

Ok, back out to the oven........
 
Last edited by a moderator:
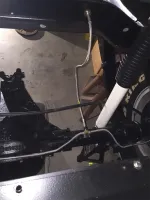
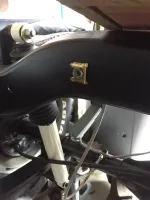
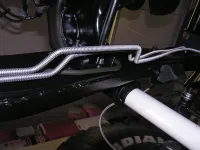
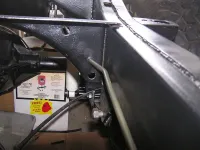
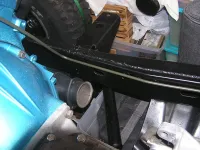
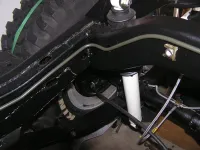
I meant to show a couple pics of the flexible brake line from the frame to the T block on the rear axle. The donor frame didn't have the connection bracket, and it's hot and I didn't feel like making one........ I notices a couple holes in the crossmember just ahead of the fuel tank, so I thought what the heck - I enlarged one just enough to get the connection end of the flex line thru and clipped it in place. Since I failed to retrieve the old brake line from the old frame, I needed a new one and was lazy - got a braided flex line made up with a 90deg connection on the aft end. This will be a fairly clean and simple connection.

R8g6P8S.png

DVoisBP.png

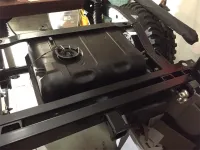
Then in preparation for the new fuel lines, I went ahead and cleaned off the rear of the frame so I could get to everything.

z0MTEIF.png

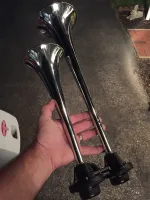
And in cleaning out my grandfather's shop and garage a couple months ago (he died 30 years ago but we never sorted thru the stuff till my Grandmother died last Fall) I ran across these . He was big into boating and I'm sure that's the source

KjoiLsX.png

Also found a small air tank. Not running a compressor at this point, that will come later. I'll just charge the tank in case I "need em" LOL.

Alrighty - off to teach class..... More tomorrow.
 
Last edited by a moderator:
Looking good!
 
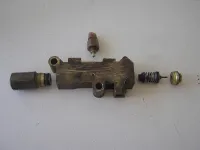
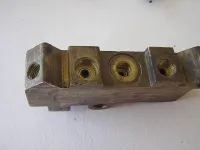
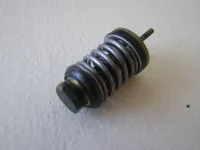
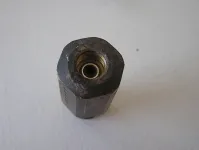
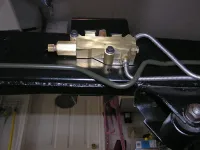
Ok - gotta back up a bit for a second.... I ran across a few pics of the proportioning valve cleanup.... I actually had two and cleaned em both up before picking one to use. Both were pretty nasty looking, but were both clean as a pin inside.

5gGCuwj.jpg

P91Y6k4.jpg

nz20Yux.jpg

5iAJhxU.jpg

6dNo476.jpg

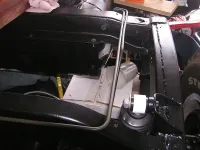
Ok - back to the hard fuel lines.... After getting the supply line run, I couldn't decide whether to run the return line down the left frame rail with the other 75 other various other lines, tubes, etc or wimp out and run it down the right frame rail. After consulting with the experts here, I wimped out and went down the right side. And you will notice I don't have any clamps on the soft fuel lines yet - just had em connected to keep everything in place.

Here are a few pics of the supply line...

EO1l73U.jpg

B5WKXLc.jpg

BSRG06b.jpg

kjoMUEf.jpg

Here's the return line...

E9tk2Rg.jpg

QmhmmH6.jpg

PfmrOJr.jpg

hZWdzVt.jpg

V4sQI1s.jpg

MOyGFfL.jpg

7dZhq2B.jpg

In preparation for the ground cable for the heads, I cleaned the threads in a threaded hole on each head...

PJHcX7k.jpg

6JsZ0LX.jpg

Alrighty - That's been my fun yesterday and today....
 
Last edited by a moderator:
Looking Good! :banana: Nice Bends! :banana: What did you use for brake lines? I still need to do those on mine. :chug:
 
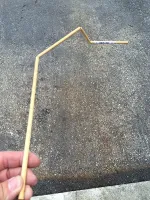
Thanks - I used a cheap tubing bender from Northern Tool. Wasn't expecting much, but if works great. Only drawback is when you go much past 90 degrees - you'll hafta do some careful clamping, but no biggie. I did cheat a little - to form the run from the filter back across the intake and down to the frame, I made a wooden dowel mock up first. Didn't wanna buy another roll of line....

tcUP8Um.jpg

I'd like to say I just stood there and bent the line perfect just by looking at where it went, but that would be a crock....... LOL. That was the way I did the supply side and it was a pain it the butt. The mockup was MUCH easier.
 
Last edited:
Ok - I wanted to be the first to call me an idiot. I figure most would have been polite enough not to, but there a couple I'm surprised haven't already LOL

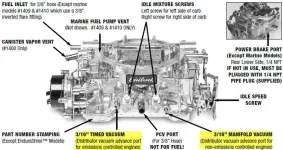
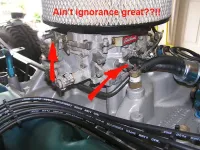
This is what happens when you take stuff apart, let it sit for a couple years, then reassemble without referring to pics you took before reassembly (that was the purpose of the pics), or educate yourself on what you are getting ready to do...... Look at the next pic and tell me what you see wrong:

8xTeMyc.jpg

See it? If not, here's a reference pic for ya.....

9if0Aar.jpg

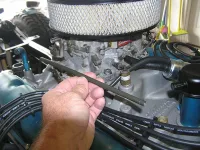
Need another hint??

b7CVLXq.jpg

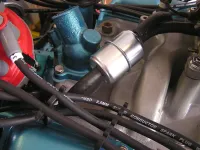
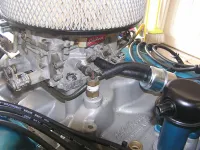
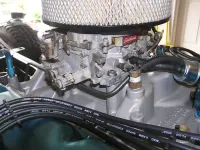
Not being real familiar with the the Edelbrock carbs, I just stuck the supply line where I thought it should go - on the front of the carb. Weeeelllllllll, I'm a moron. I hooked the fuel supply line to the PCV connection. THAT would have made for an interesting first crank..... LMAO. So, I'll add a piece of hard line between the filter and inlet - not the way I would have preferred, but it's gonna have to do at this point. I don't think one more short piece of rubber line will kill it.

Before:

RmvSP8x.jpg

Stand by for the "fix".......
 
Last edited by a moderator:
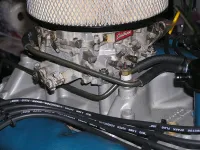
Well, alrighty then...... I don't like it but here's the fix. It'll do for now, but I will probably address it down the road and redo it...... Maybe.

NffouS8.jpg

Let me know if I've done something really stupid here...... Marginally stupid I can live with
 
Last edited by a moderator:
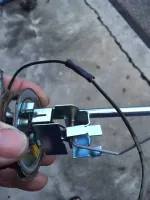
Took the sending unit out of the tank this afternoon to see what kinda shape it was in..... This CJ is beginning to get creepy. I keep reading posts about all the knucklehead things PO's do, but I have yet to find one. The only thing I haven't disassembled (yet) is the dash and heater, and I have yet to break a bolt. Not a body mount bolt, water pump / timing cover bolt - nothing. Anyway, I pulled the sending unit - you won't believe it. Dang thing looks like it's brand spankin new.

PVwRT50.jpg

The tank has what I thought was rust in the bottom of the tank, but upon further thought, I think it's the crystallized remnants of what little fuel was still in the tank when I started the insanity. It's only the very bottom of the tank - rest looks good. I guess I won't be adding anything to the PO bashing threads...... Works for me


Sent from my iPad using Tapatalk
 
Last edited by a moderator:
You are soooooooooooooooo lucky. I had to cut my body mounts off, cut my shackles off, cut my springs off, there are so many body bolts that I will have to drill out.......................you get the idea. Some of this is why I went all in to completely rebuild my Jeep.
 
Shum8, crimped connections are not good for a CJ, You might want to solder that and run the ground wire as close to the battery ground as you can for a better connection. The CJ fuel gauge system is not all that great. A little o-ring lubricant or grease can help also.
 
I think one reason I haven't had much trouble yet is the PO swapped in a Wrangler tub, and used anti-seize everywhere. Speaking of which, anybody know why I can just look at the can of anti-seize and I find it all over me???

Yeah, I'll be sticking ground buses here and there - just haven't wired the rear bus up yet.


Sent from my iPad using Tapatalk
 
Yeah, I ran a rear ground wire for the tailights and gas sending unit thru the rear harness. Now the lights are a lot brighter. Can't help you with the anti sieze issue.
 
Can't help you with the anti sieze issue.


May have something to do with operator error......


Sent from my iPhone using Tapatalk
 
Did some pokin around this morning - don't have rust in the tank . It's old fuel. Stuck a long screwdriver in the tank and lightly drug it across the bottom they the "rust". It piled up on the end of the blade.....Nice - that can be cleaned out relatively easy - compared to rust, anyway.


Sent from my iPhone using Tapatalk
 
I hope you didn't jinx yourself on the bolts now. :D That is crazy none broke. First bolt I touched on my 82 snapped right off.
 
I guess since he had swapped tubs, he broke em all....... I missed out on all the fun.


Sent from my iPad using Tapatalk
 
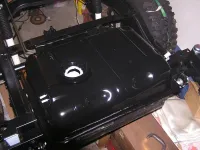
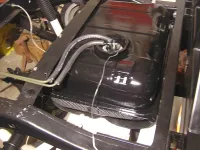
Well, I wussed out..... While the tank didn't have any rust in the bottom, it needed a thorough cleaning. Then I found crusty :dung: stuck to the top - didn't look like rust. I figure it's crystallized gasoline, butt it will still need to be removed. Sooooooo,, considering the fuel lines are new, as is the fuel pump, I went ahead and popped for a new tank. Got it painted and back in place. Yeah, I know.... No hose clamps visible. Once I get everything where I want it, then I'll get my clamp on. LOL
mR2osi3.jpg

After discount code, 83 bucks to my door. I'll stick the old one on Craigslist and they can clean it. This one is much better

qu4tgFX.png

2RAbUmS.jpg

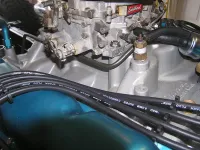
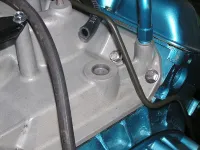
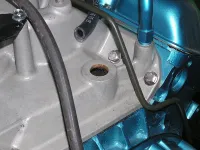
Had a little time left after the tank swap, so I pulled the plug ..... LOL. Actually, in an effort to put the PCV valve in its correct spot, I had to pull a 1" core plug.

YMYrrkX.jpg

Someone capped it and ran the PCV valve between the oil filler cap and the base of the carb. Plug's out, so now the fun begins.

LYFUTnv.jpg

A trip to Advance Auto parts in search of a grommet for the PCV valve proved fruitless. All were much larger in diameter than the hole in the intake. We found a valve cover grommet that needs to be trimmed to fit - should be easy enough. That's for tomorrow.
 
Last edited by a moderator:

Jeep-CJ Donation Drive

Help support Jeep-CJ.com by making a contribution.

Help support Jeep-CJ.com by making a contribution.
Goal
$200.00
Earned
$25.00
This donation drive ends in
Back
Top Bottom